Your First Demo
What makes a good software demo?
- Selling the value
- Showing and telling
- Customizing to your audience
- Being ready to answer questions
Let’s build that demo!
Step 0: Getting Set Up
Accept your invitation to your account & login.
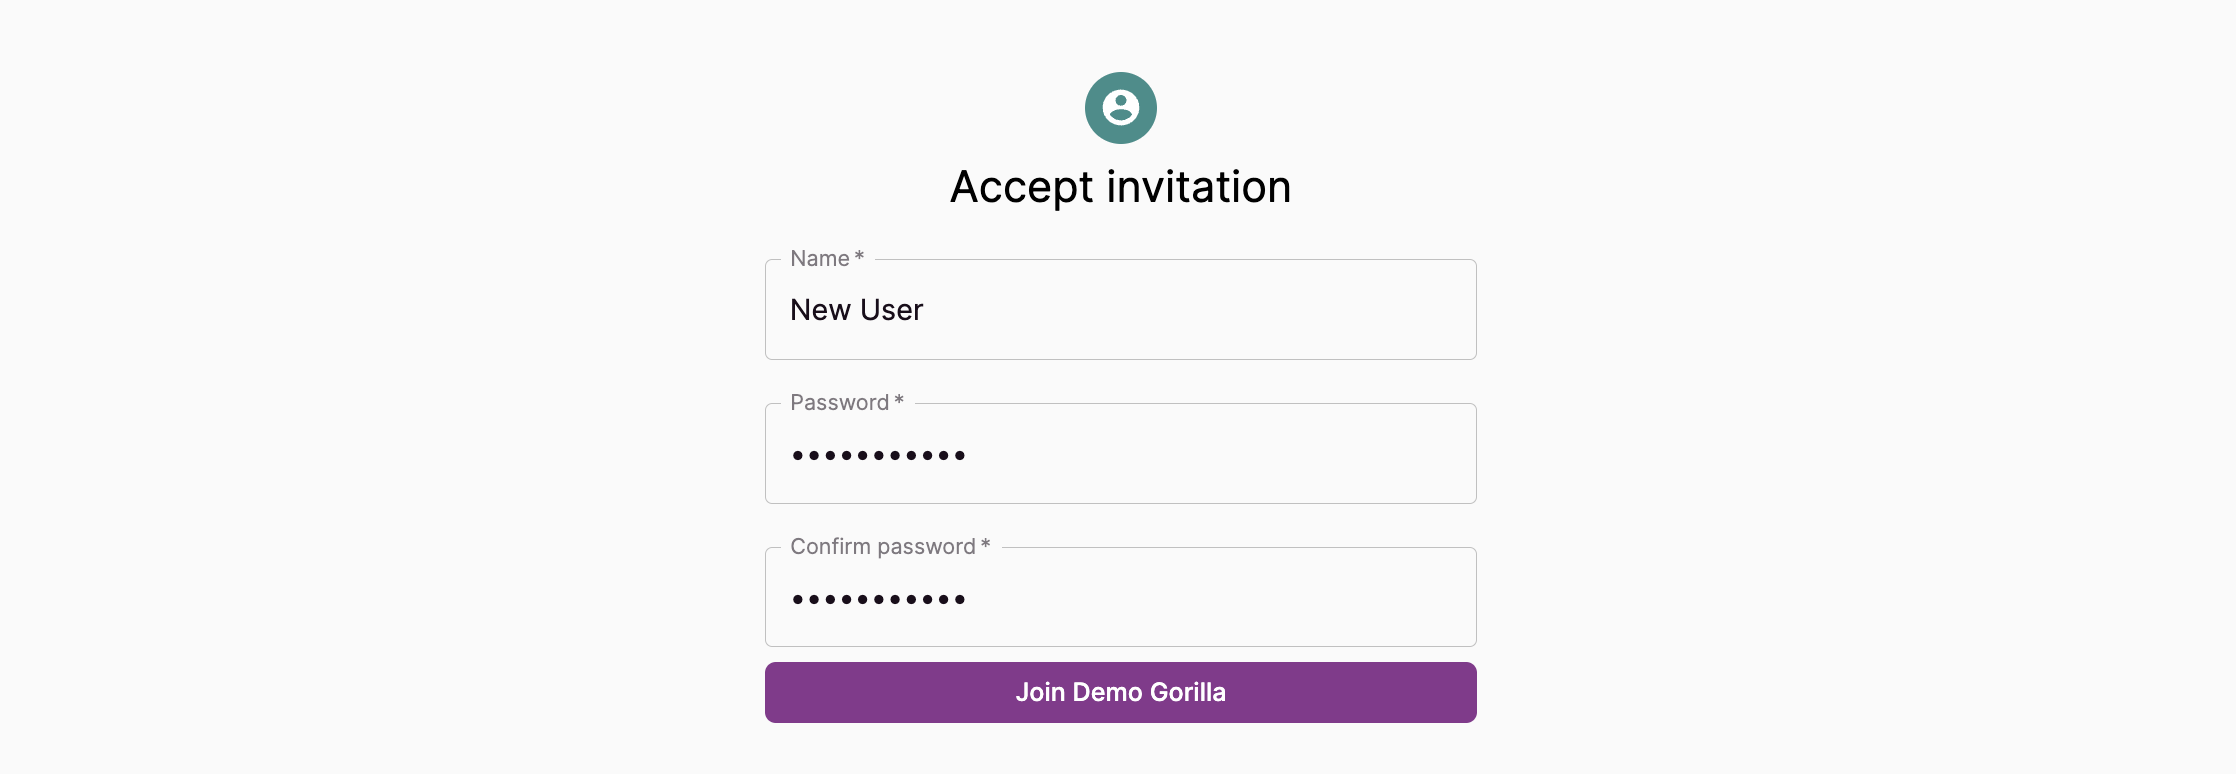
If there are any problems signing in, you can reset your password via the “Forgot your password” button.
Install the Presenter Notes extension
If you haven’t already, install the extension from Google’s Chrome Web Store
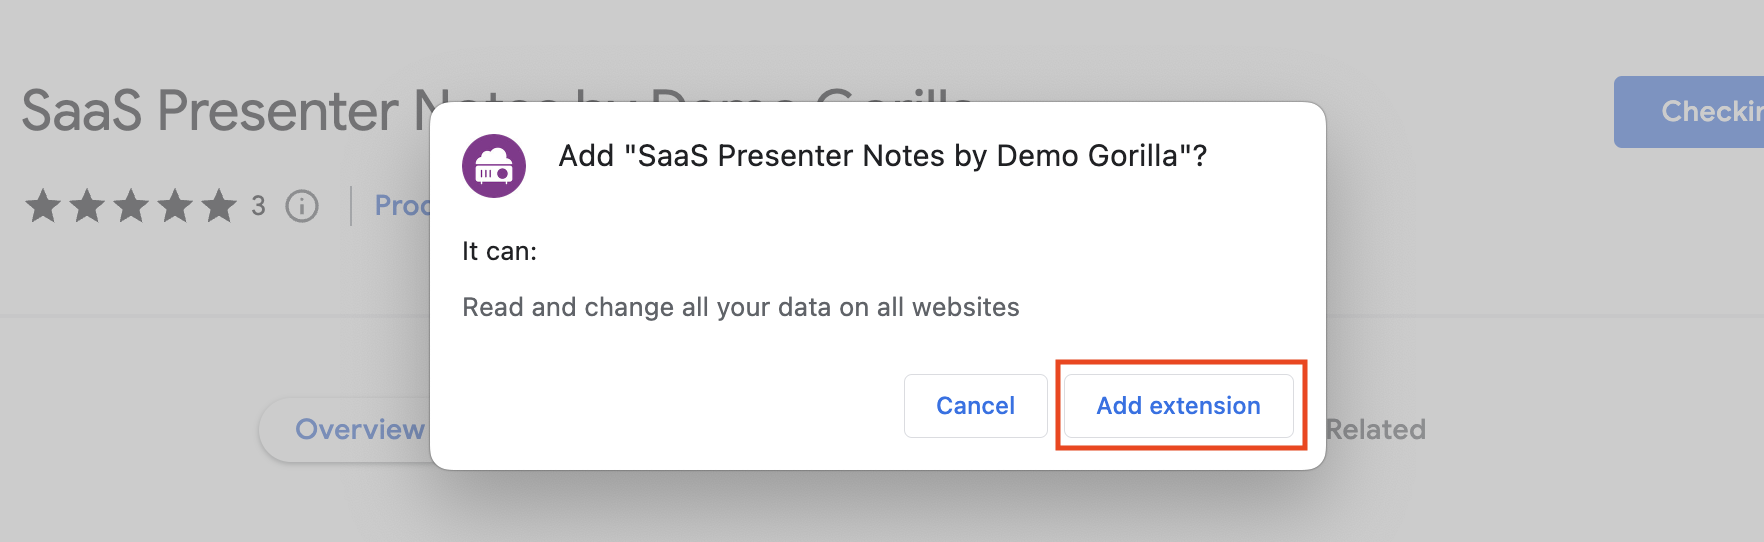
Despite the built-in warning, you’re going to need to authorize Demo Gorilla on every domain you want to use it on in a later step.
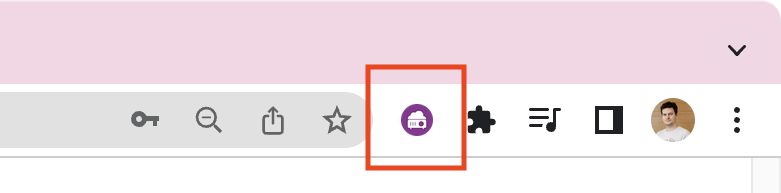
Pin the extension to the menu bar
You should see a puzzle piece shaped icon. Press that and pin the Demo Gorilla extension to your menu bar:
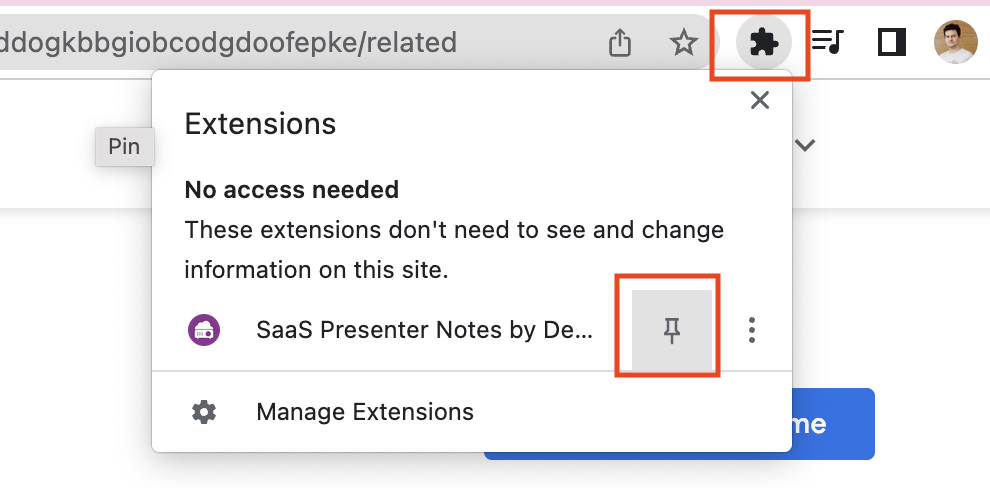
Now it should show up on your menu bar at all times.
Press the Demo Gorilla icon and you should get a pop-up:
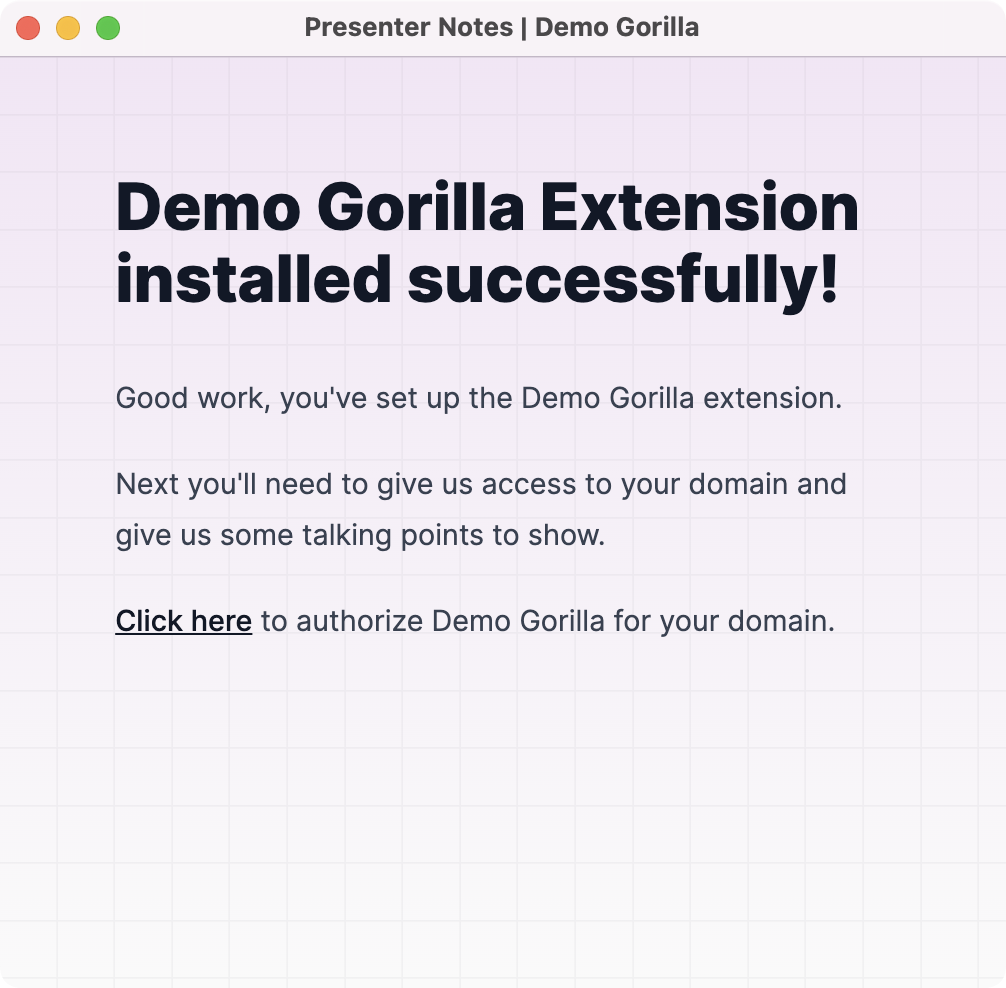
But there’s no content, let’s make some!
Add a domain
Add an authorized domain either by clicking that link or pressing “+ Add” on the Organization settings page.
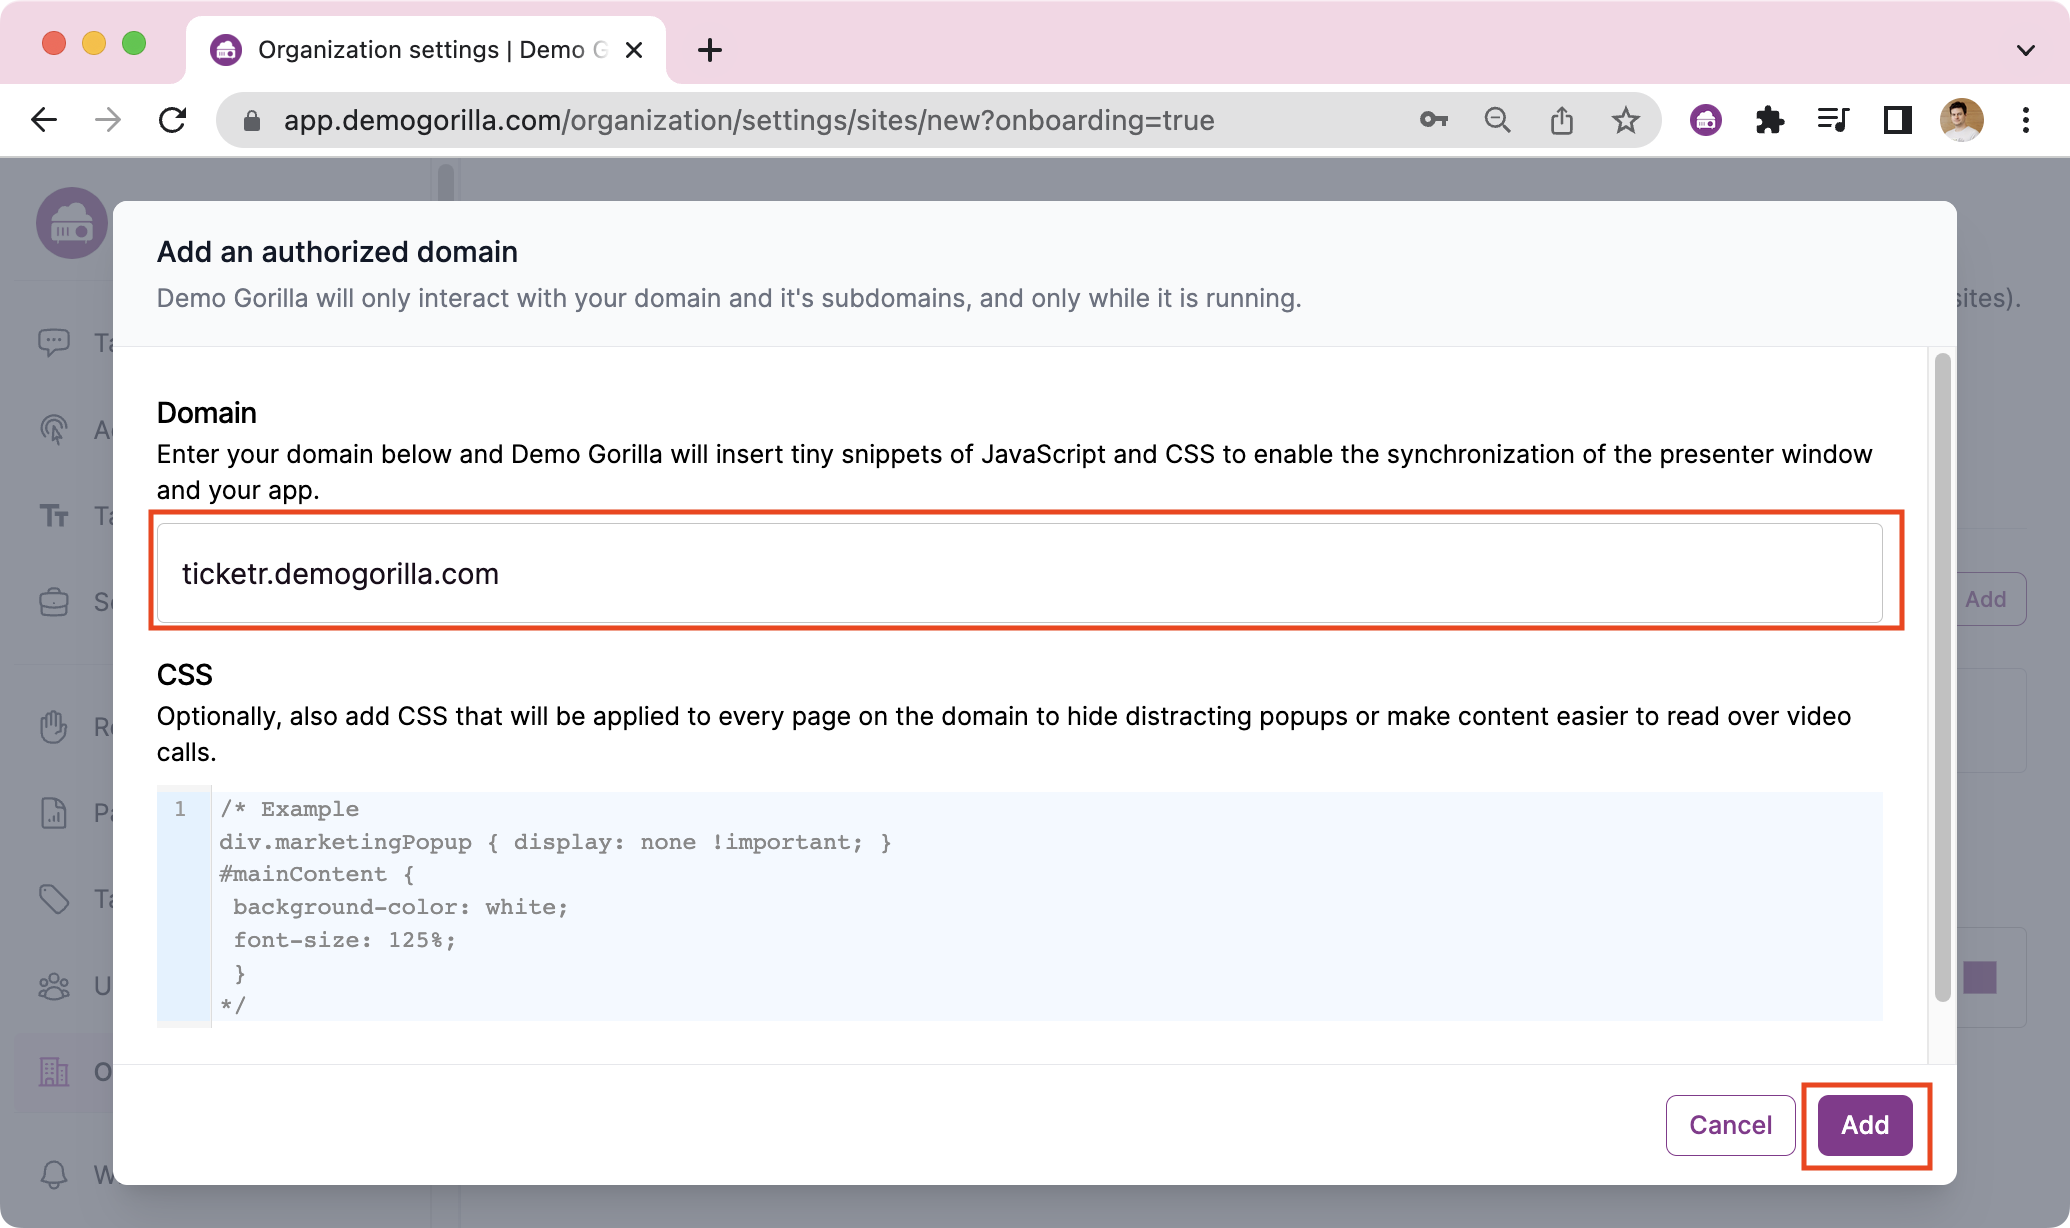
Note: We have a demo product you can use: a fake ticketing tool called Ticketr. We’ll use it in this example but you can use your real domain, just change the domain (and later the pages).
Enter “ticketr.demogorilla.com” in the “Domain” field, and press “Add”
And you’ll have authorized a domain:
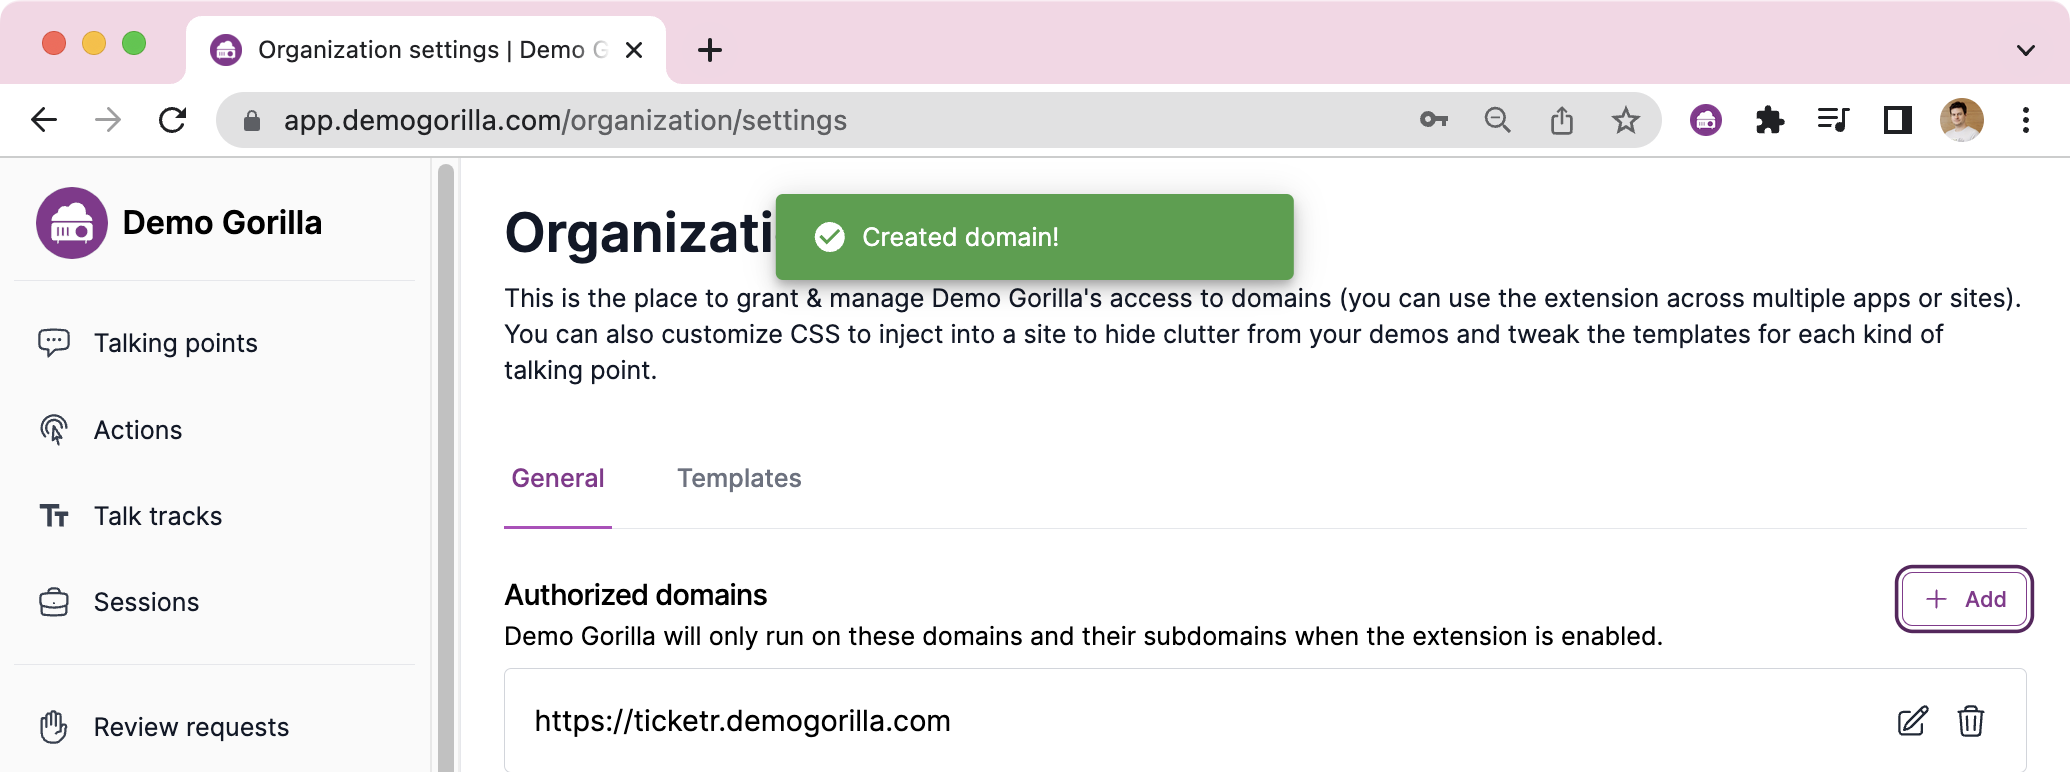
And it works
Now if you navigate to https://ticketr.demogorilla.com/ (Or the domain you added in the previous step), and then press the Demo Gorilla icon it’ll open the Presenter Notes with some sample content

You can play with the sample content to gain some familiarity.
There are some actions:
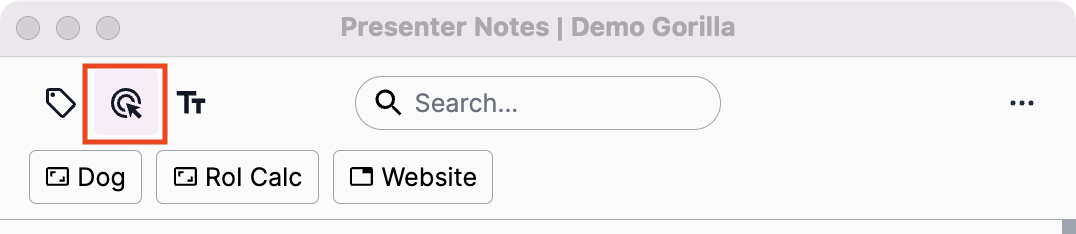
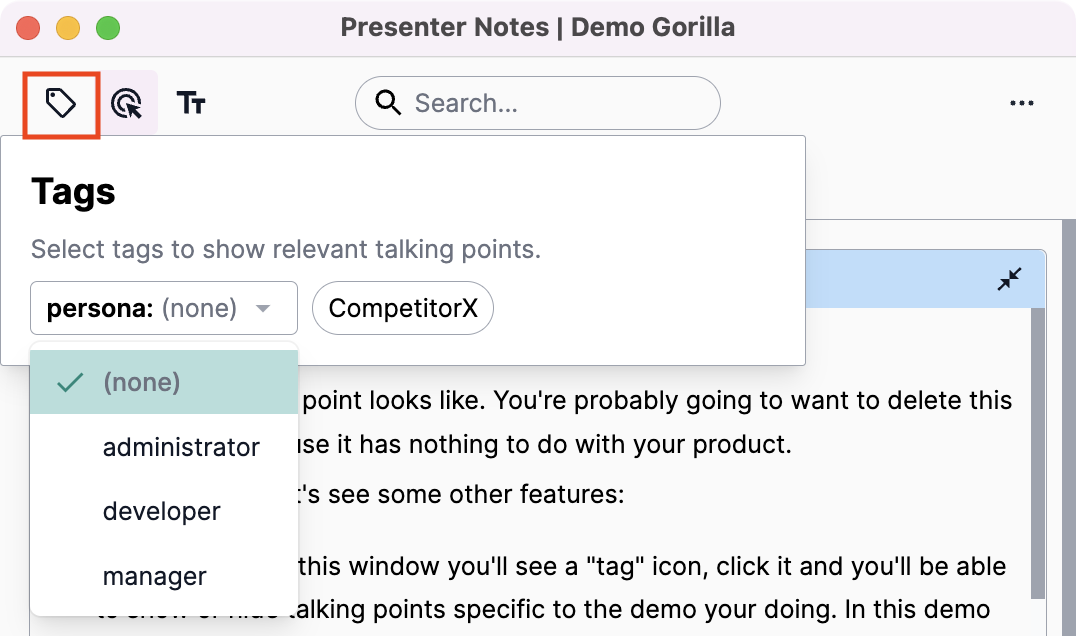
And some sample tags that enable & disable content:
Let’s replace that sample content!
Step 1: Selling the value
When we’re giving a demo, it’s too easy to talk about what we are doing instead of why this feature is valuable to the customer, so let’s make that our first talking point.
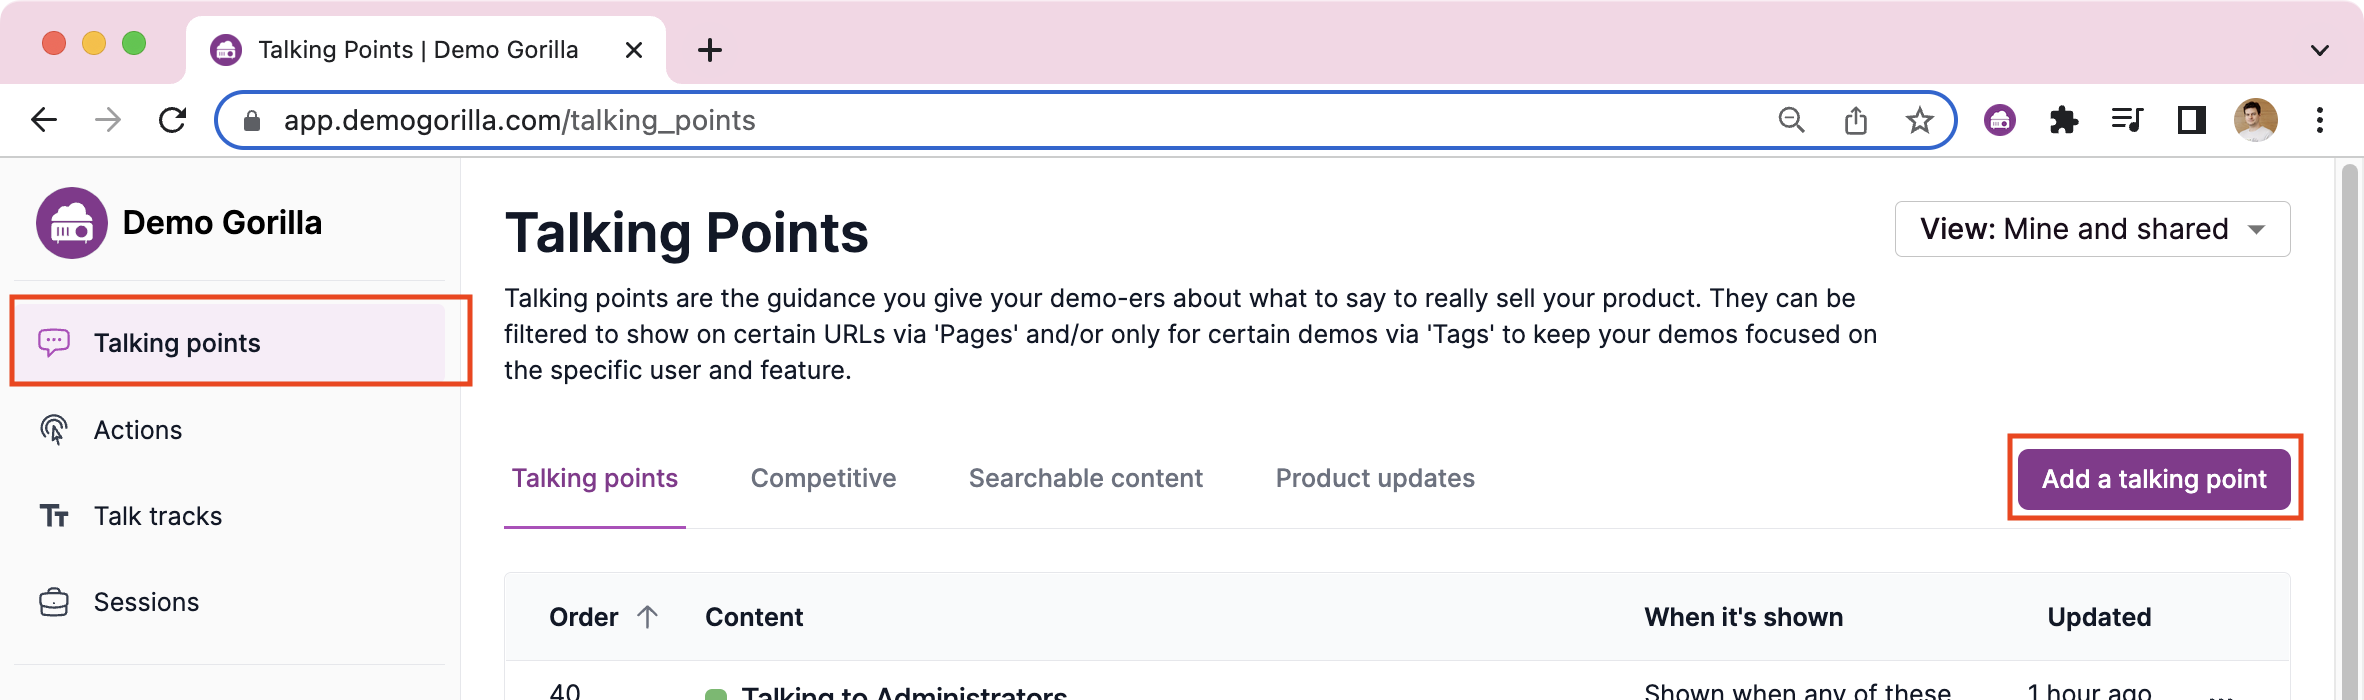
“Talking points” are hints to our demo-ers about what to remember to say. Ideally they should be bullet points, intended to remind not be read verbatim. By writing good talking points your demoers can focus on the customer interaction instead of racking their brains for what to say. They also allow your team to share the best messaging across the organization and keep it up to date. (You can read more about talking points here. ) Go to the Talking Points page in the app and click “Add a talking point”
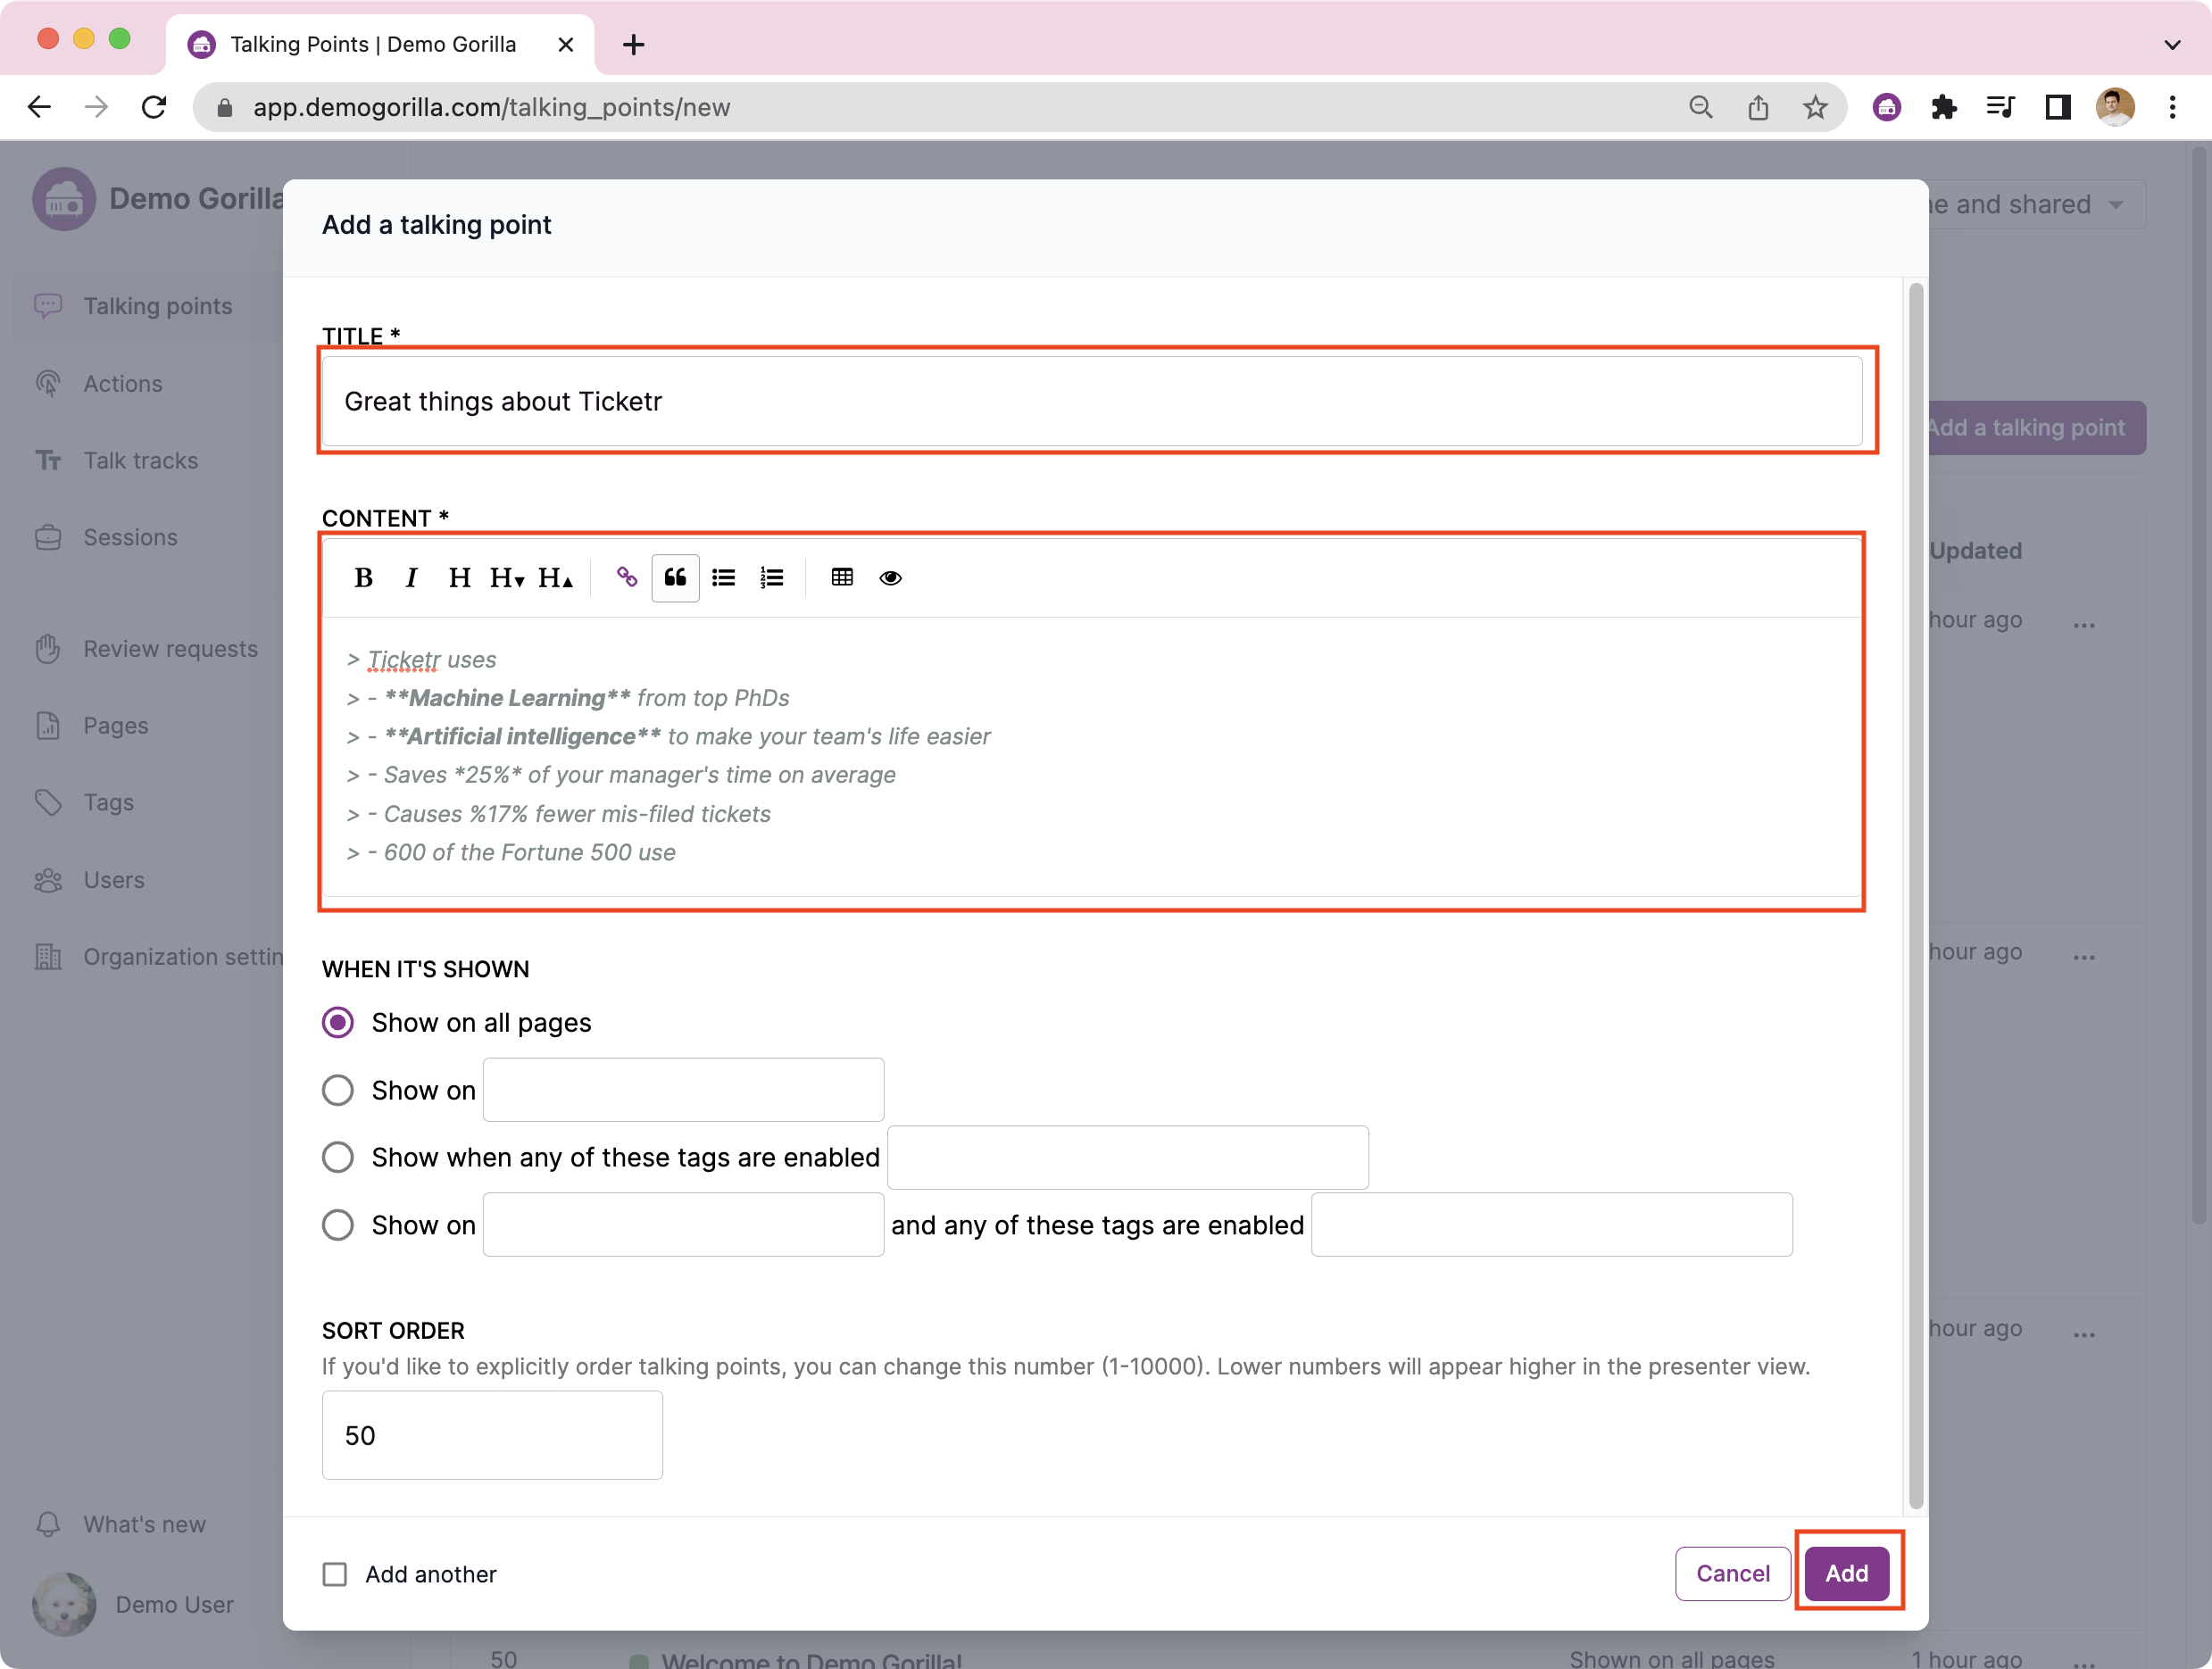
Let’s give it a title: “Great things about Ticketr”
And replace the content (feel free to copy and paste this text or make up your own):
Ticketr uses
- **Machine Learning** from top PhDs
- **Artificial intelligence** to make your team's life easier
- Saves *25%* of your manager's time on average
- Causes %17% fewer mis-filed tickets
- 600 of the Fortune 500 use it
Leave the rest of the options alone and press “Add” and you’ll have made your first talking point.
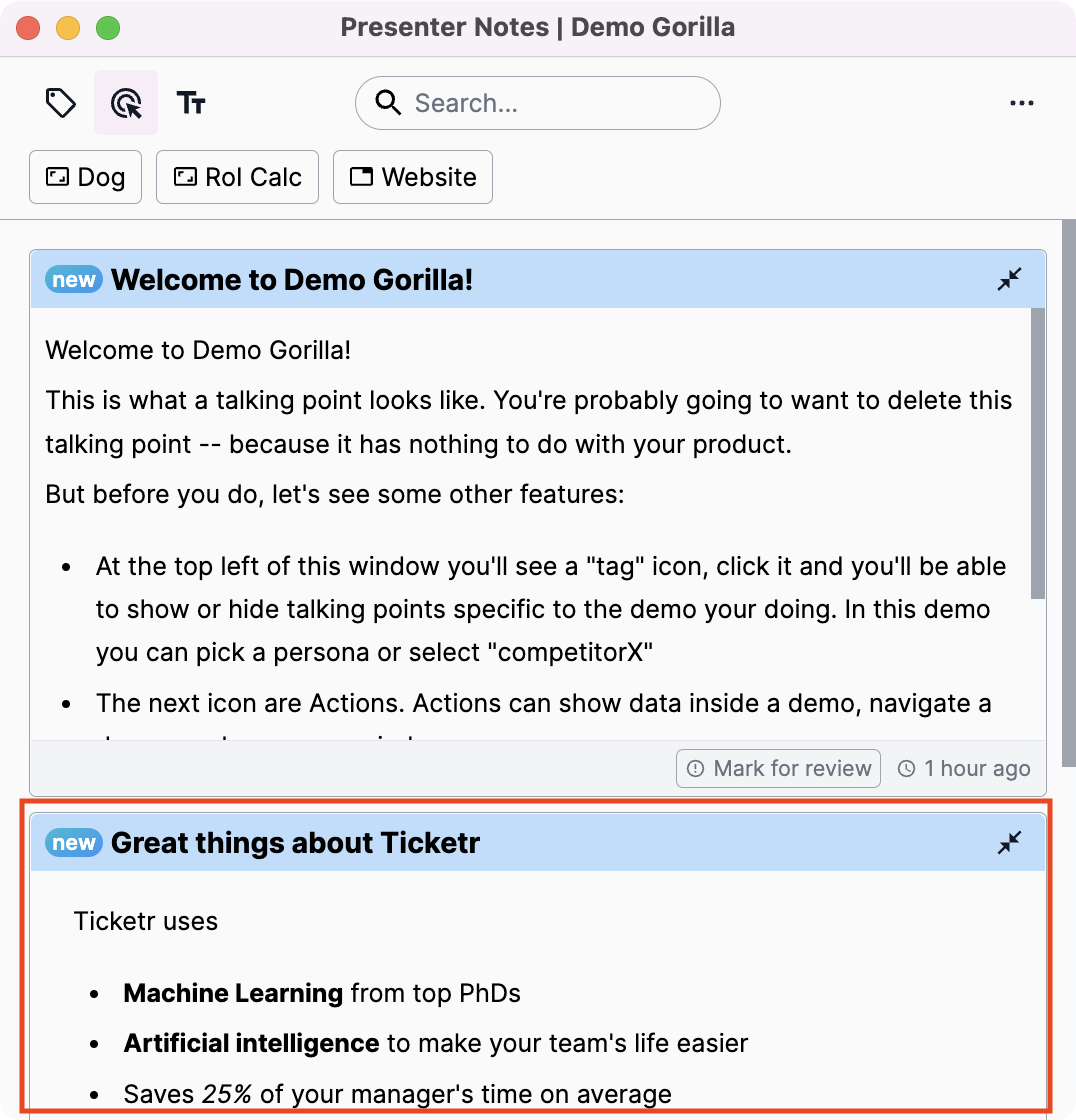
Let’s see your new talking point in the presenter notes! You can either press the Demo Gorilla button in your browser, or refresh the extension while on the site you authorized:
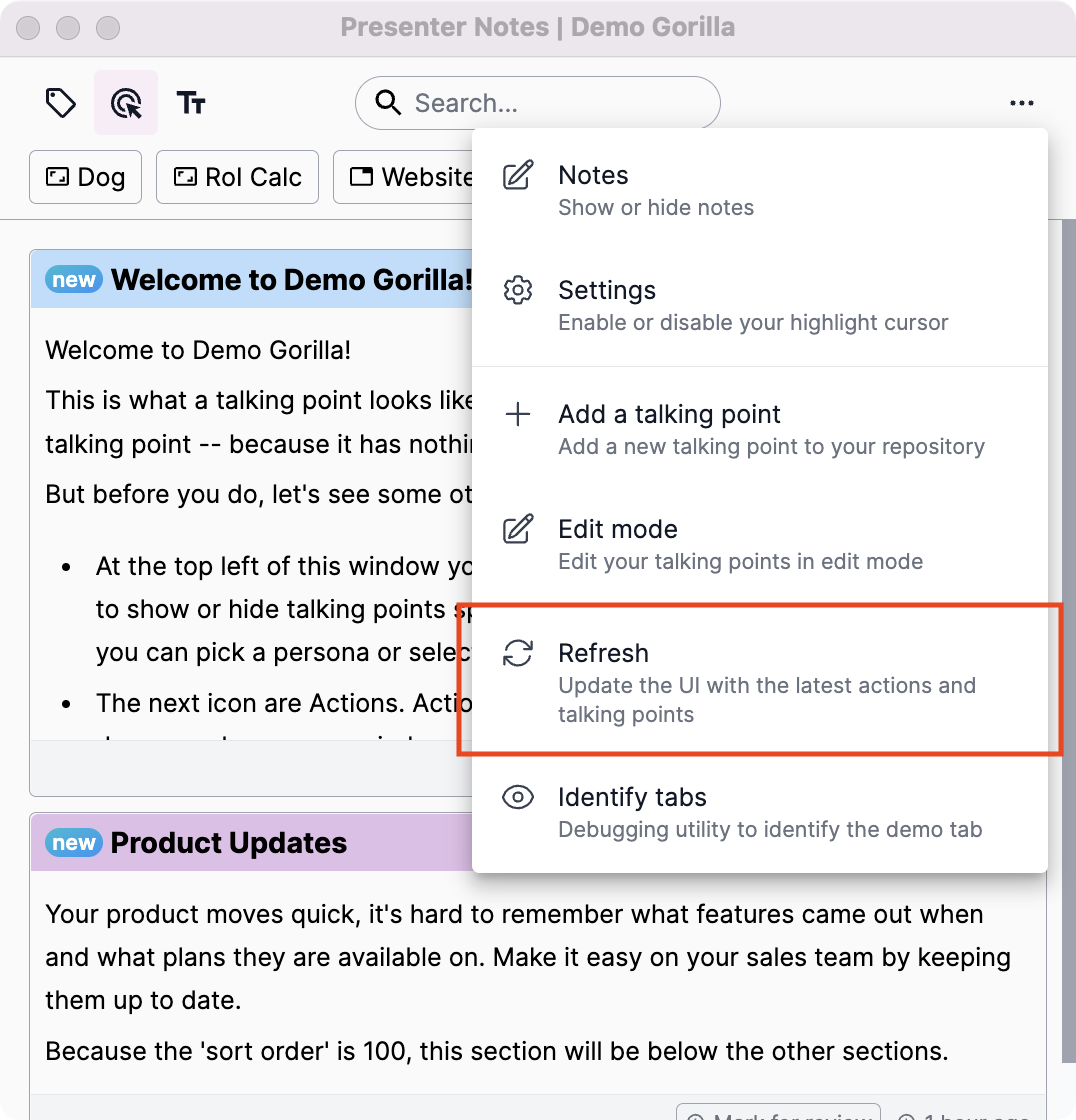
And you’ll see your content (you may need to scroll). Something you’ll notice is the text transformed a little: the “-” became a real bullet and the “**” made the text bold. That’s called “Markdown”.
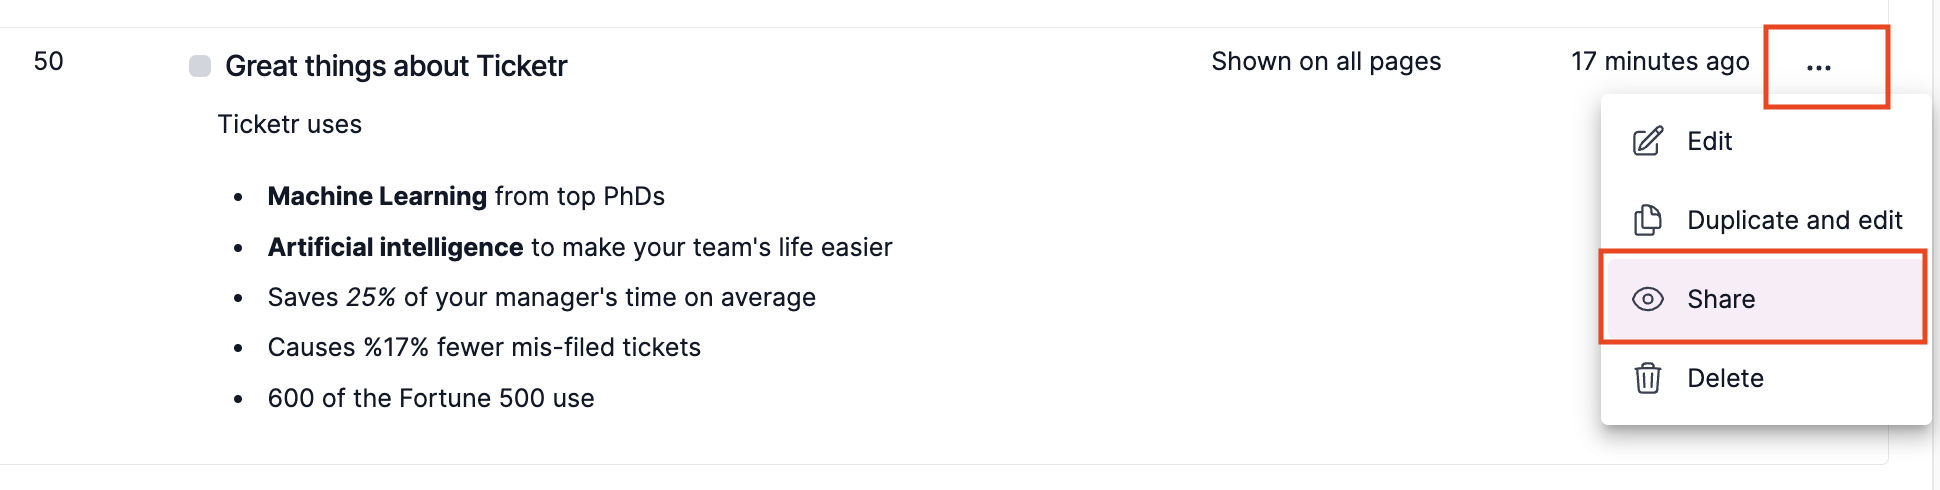
By default all talking points start out as only visible to you. When you’re ready to share them, click the “…” button on the Talking Points page and share it:
Bonus: You can see the talking point stared off with some text. That’s a template and is customizable in organization settings.
Step 2. Showing and telling
Nothing is more boring than sitting through a slide presentation when you expected a demo - but sometimes we need the slides to lay the groundwork for the amazing feature you’re about to show off.
Demo Gorilla makes it easy to show and tell while keeping the demo moving along. Let’s make our first action: to display a Google Slide (we have a sample deck, but you can use your own if you’d prefer)
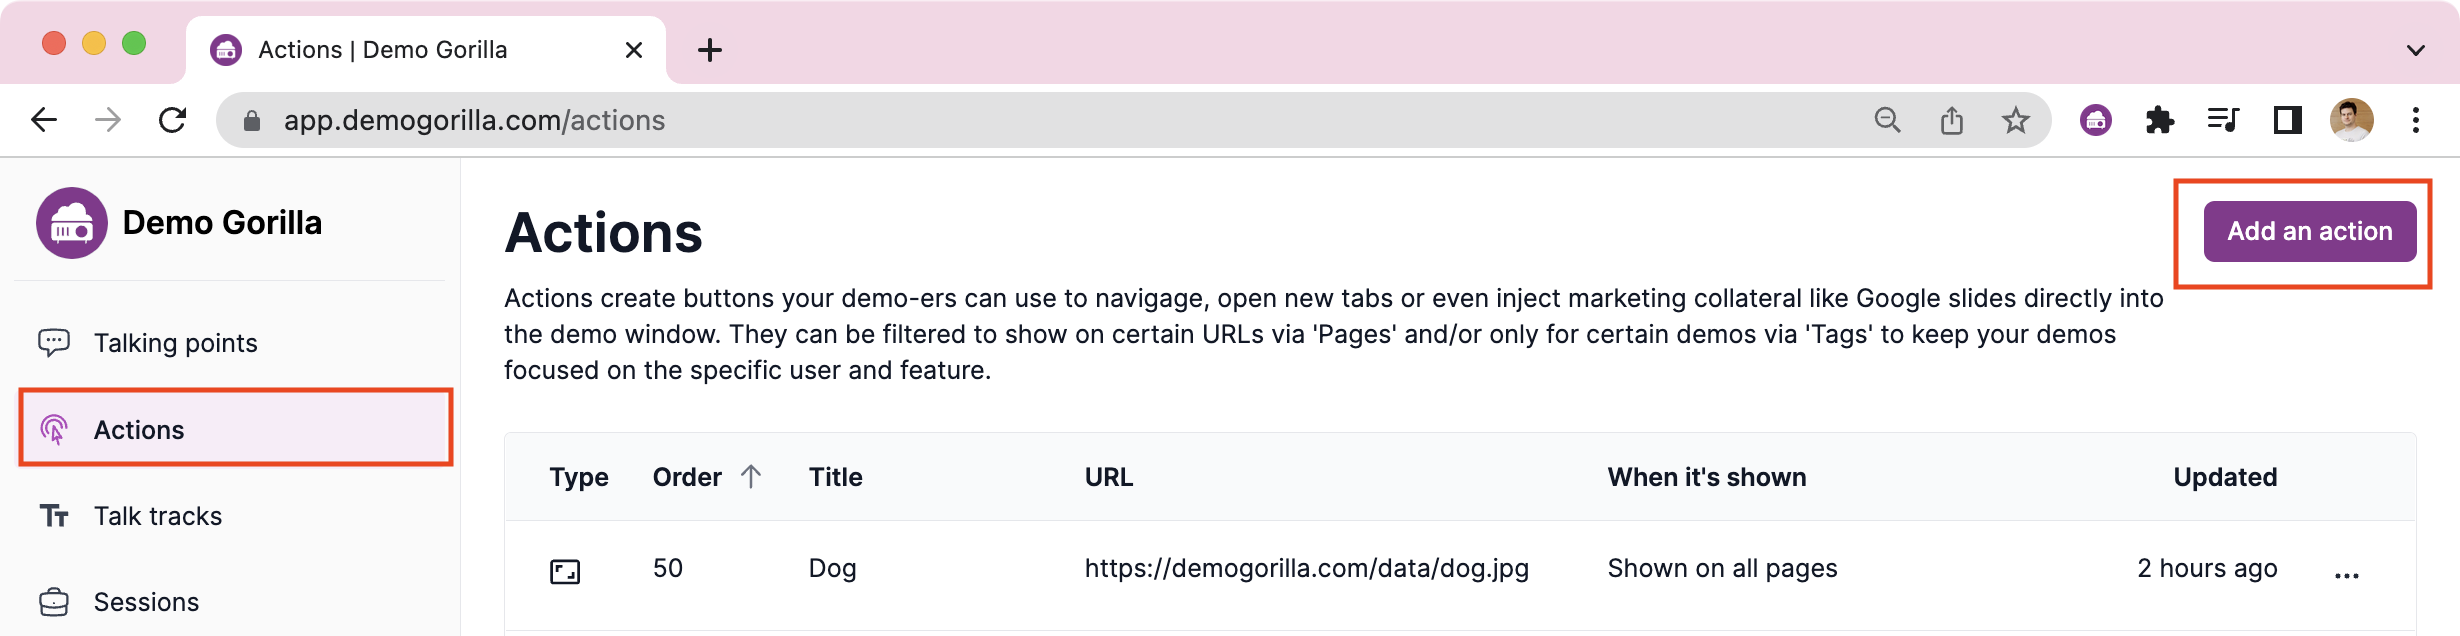
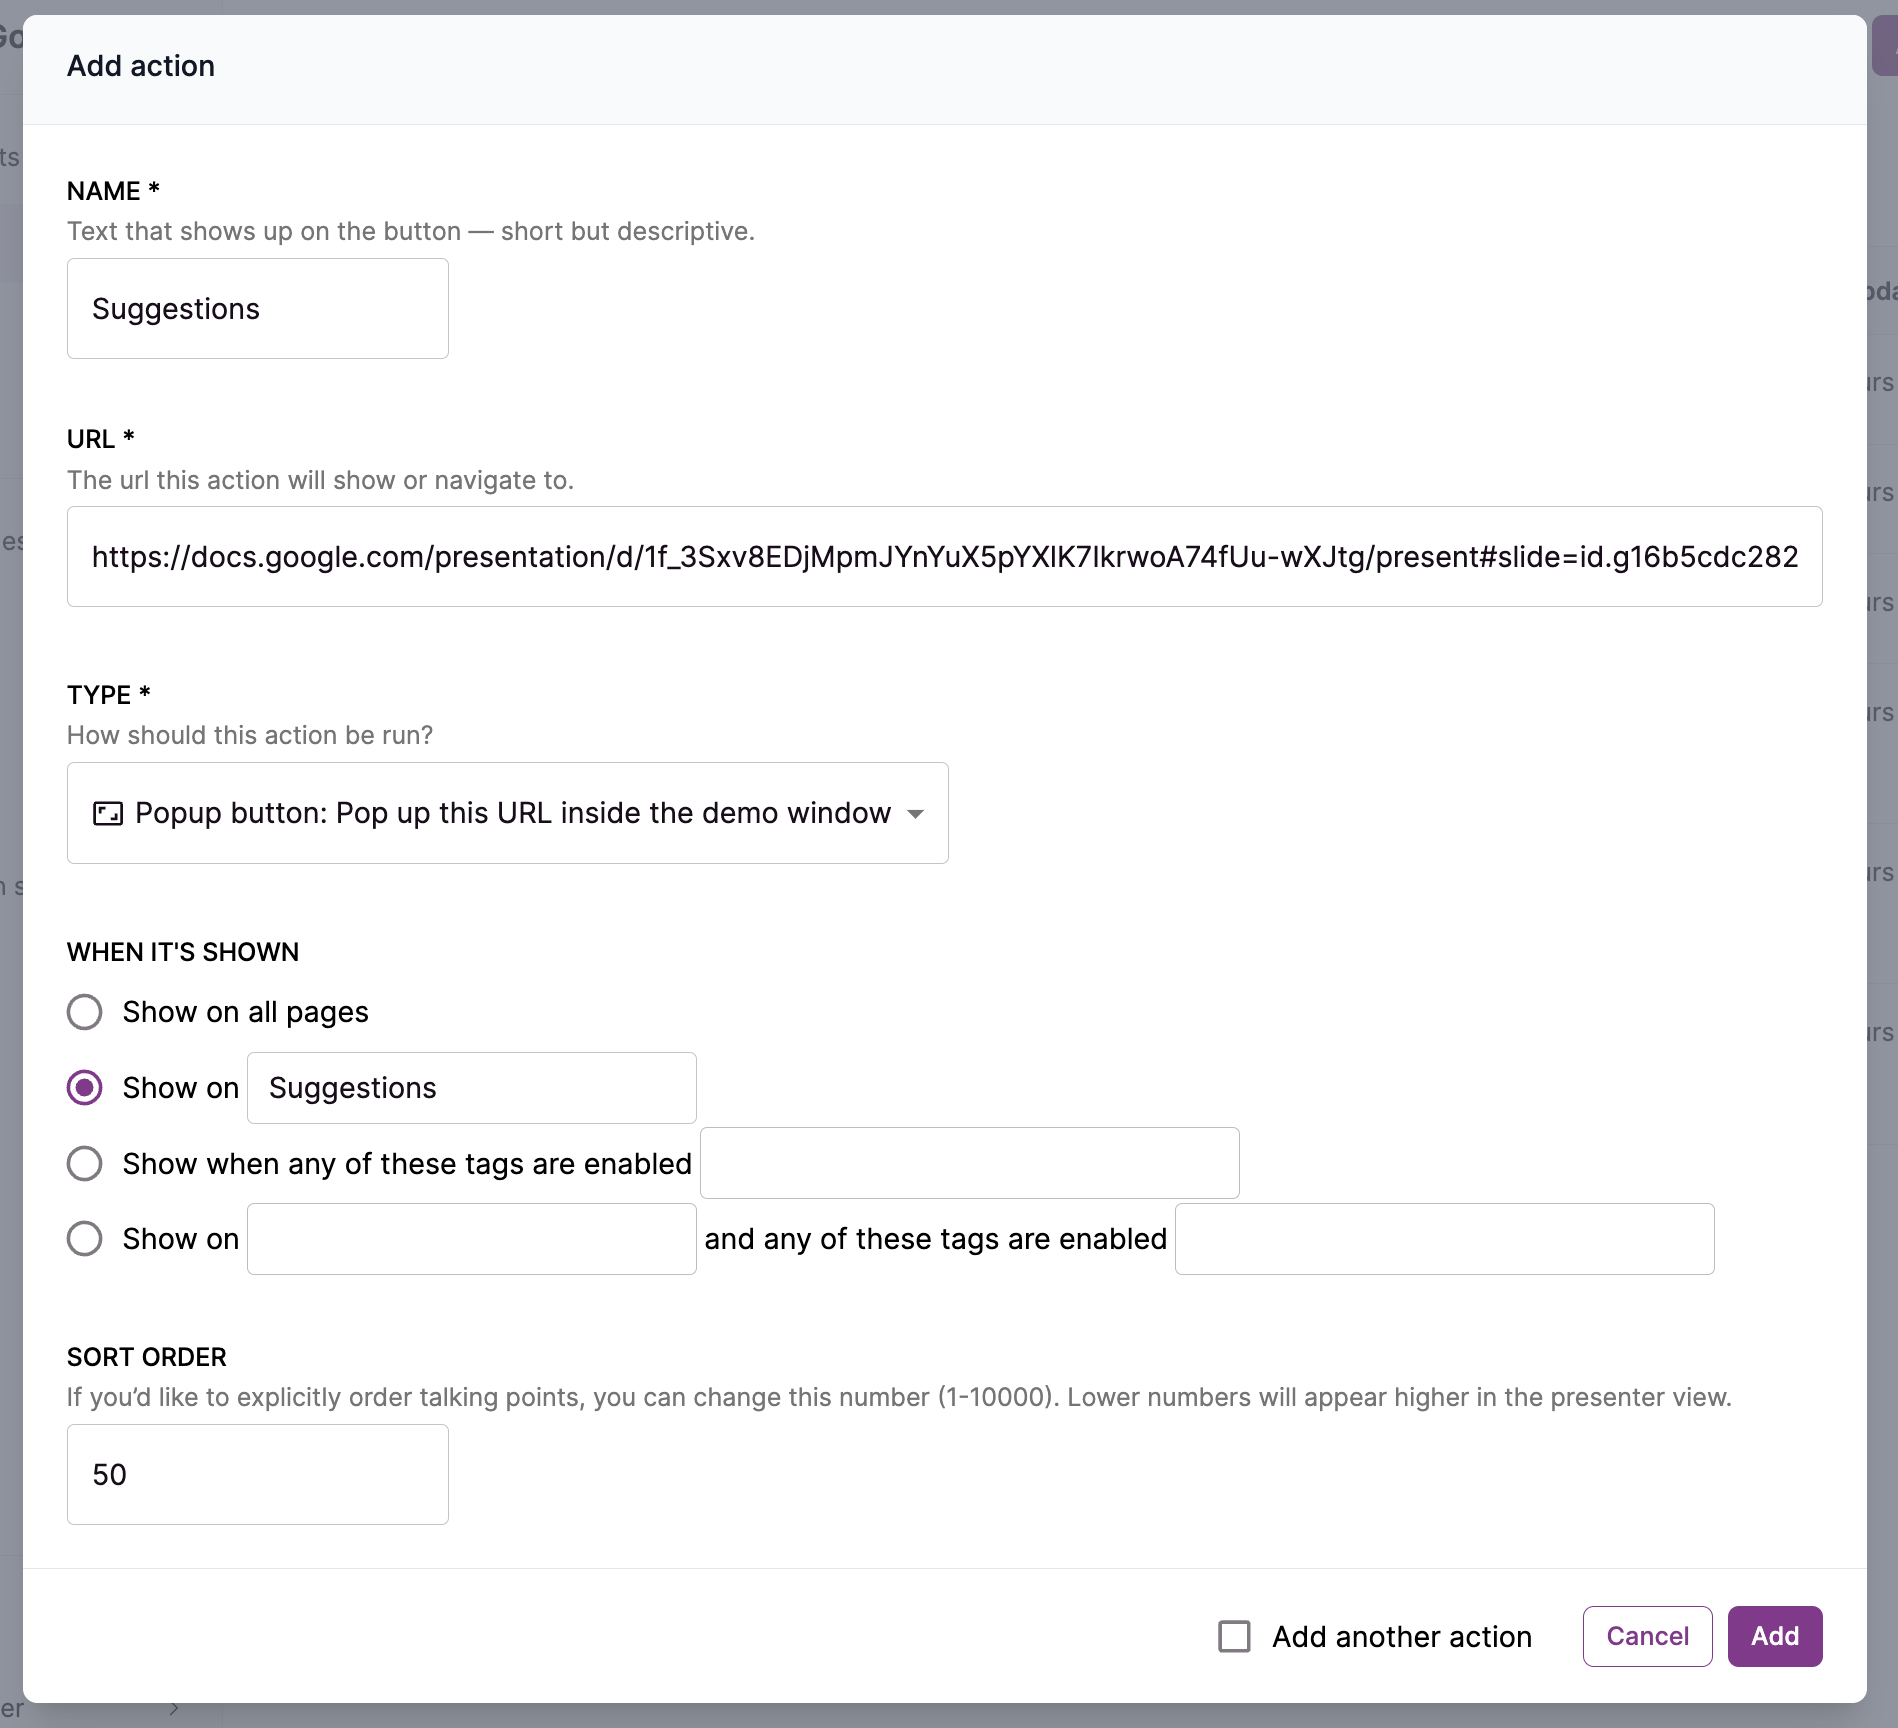
Let’s add a slide to explain TicketR’s “Suggestions” feature. Go to the “Actions” page and press “Add an action”.
Use the following values:
- Name: Suggestions
- URL: https://docs.google.com/presentation/d/1f_3Sxv8EDjMpmJYnYuX5pYXlK7IkrwoA74fUu-wXJtg/edit#slide=id.g16b5cdc2823_1_0
- Type: Popup button
- When it’s shown: Let’s only show it on the suggestions page (instructions below)
- Sort order: 50
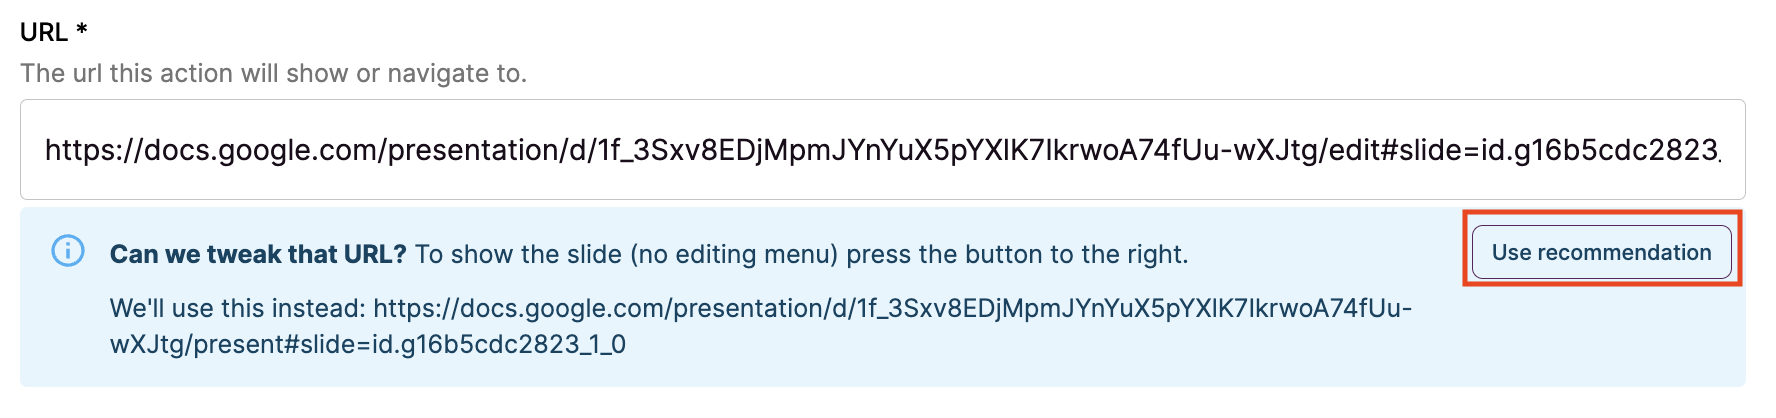
When you’re filling in the values, the first thing you notice is that Demo Gorilla wants to help you by tweaking the URL. When you copy & paste a URL from a Google Slide it shows all the editing toolbars and menus. When you press “Use recommendation”, Demo Gorilla will change the URL to present just the slide.
We’re only going to make this action appear when we’re on the Suggestions page which is “https://ticketr.demogorilla.com/?p=suggestions” so we’re going to make a new “page” to filter down to just that page (Pages can also filter to groups of pages or sections of your app).
Select the circle beside “Show on” and press “Add a new page”

Use the following values:
- Page name: Suggestions
- URL: contains suggestions
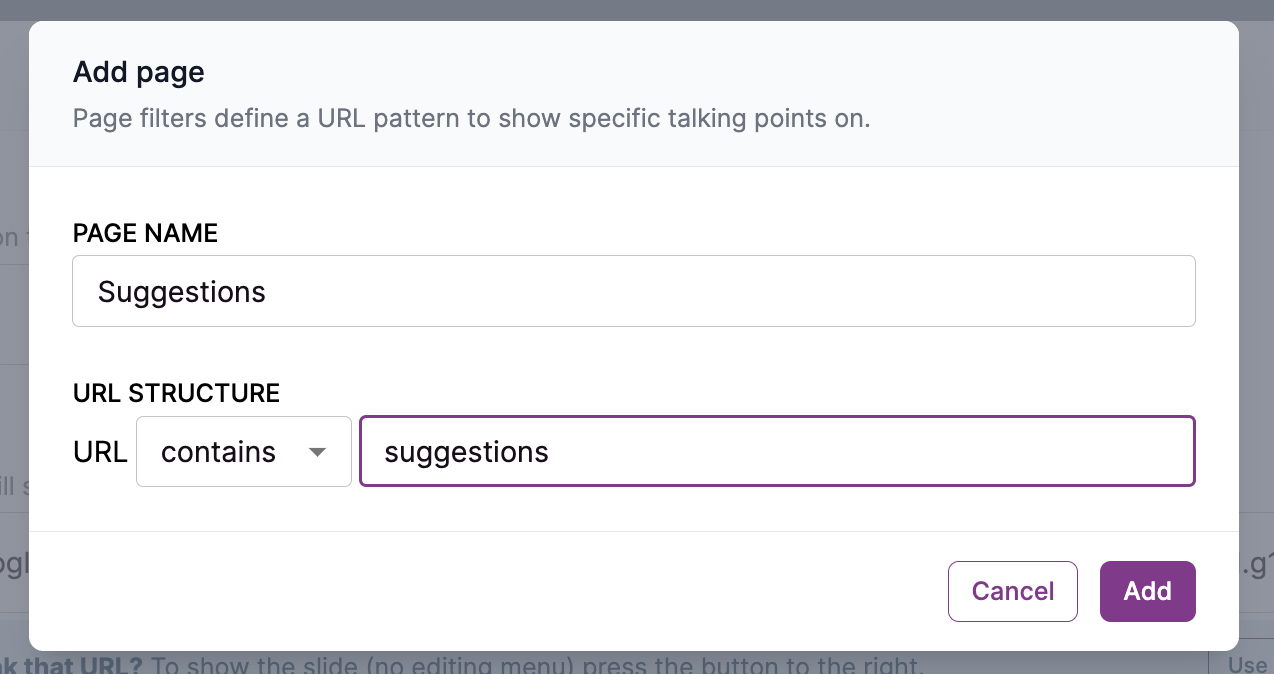
Your screen should look like this. Press Add.
Either press the Demo Gorilla button in your browser, and navigate to Suggestions in TicketR and you should see your new button. Press it and you’ll overlay a useful slide on top of the live demo.
Note: You may need to press the “Show actions” button to see your button.

Step 3. Customizing to your audience
Of course not all demos are to the same people! What resonates with one audience might not with another.
Demo Gorilla uses tags to customize your content based on the audience much like we used pages to customize content based on what you’re showing.
You should already have some sample content on the “Tags” page in the app. (If you deleted these, you can re-create them with the “Add a tag” button)
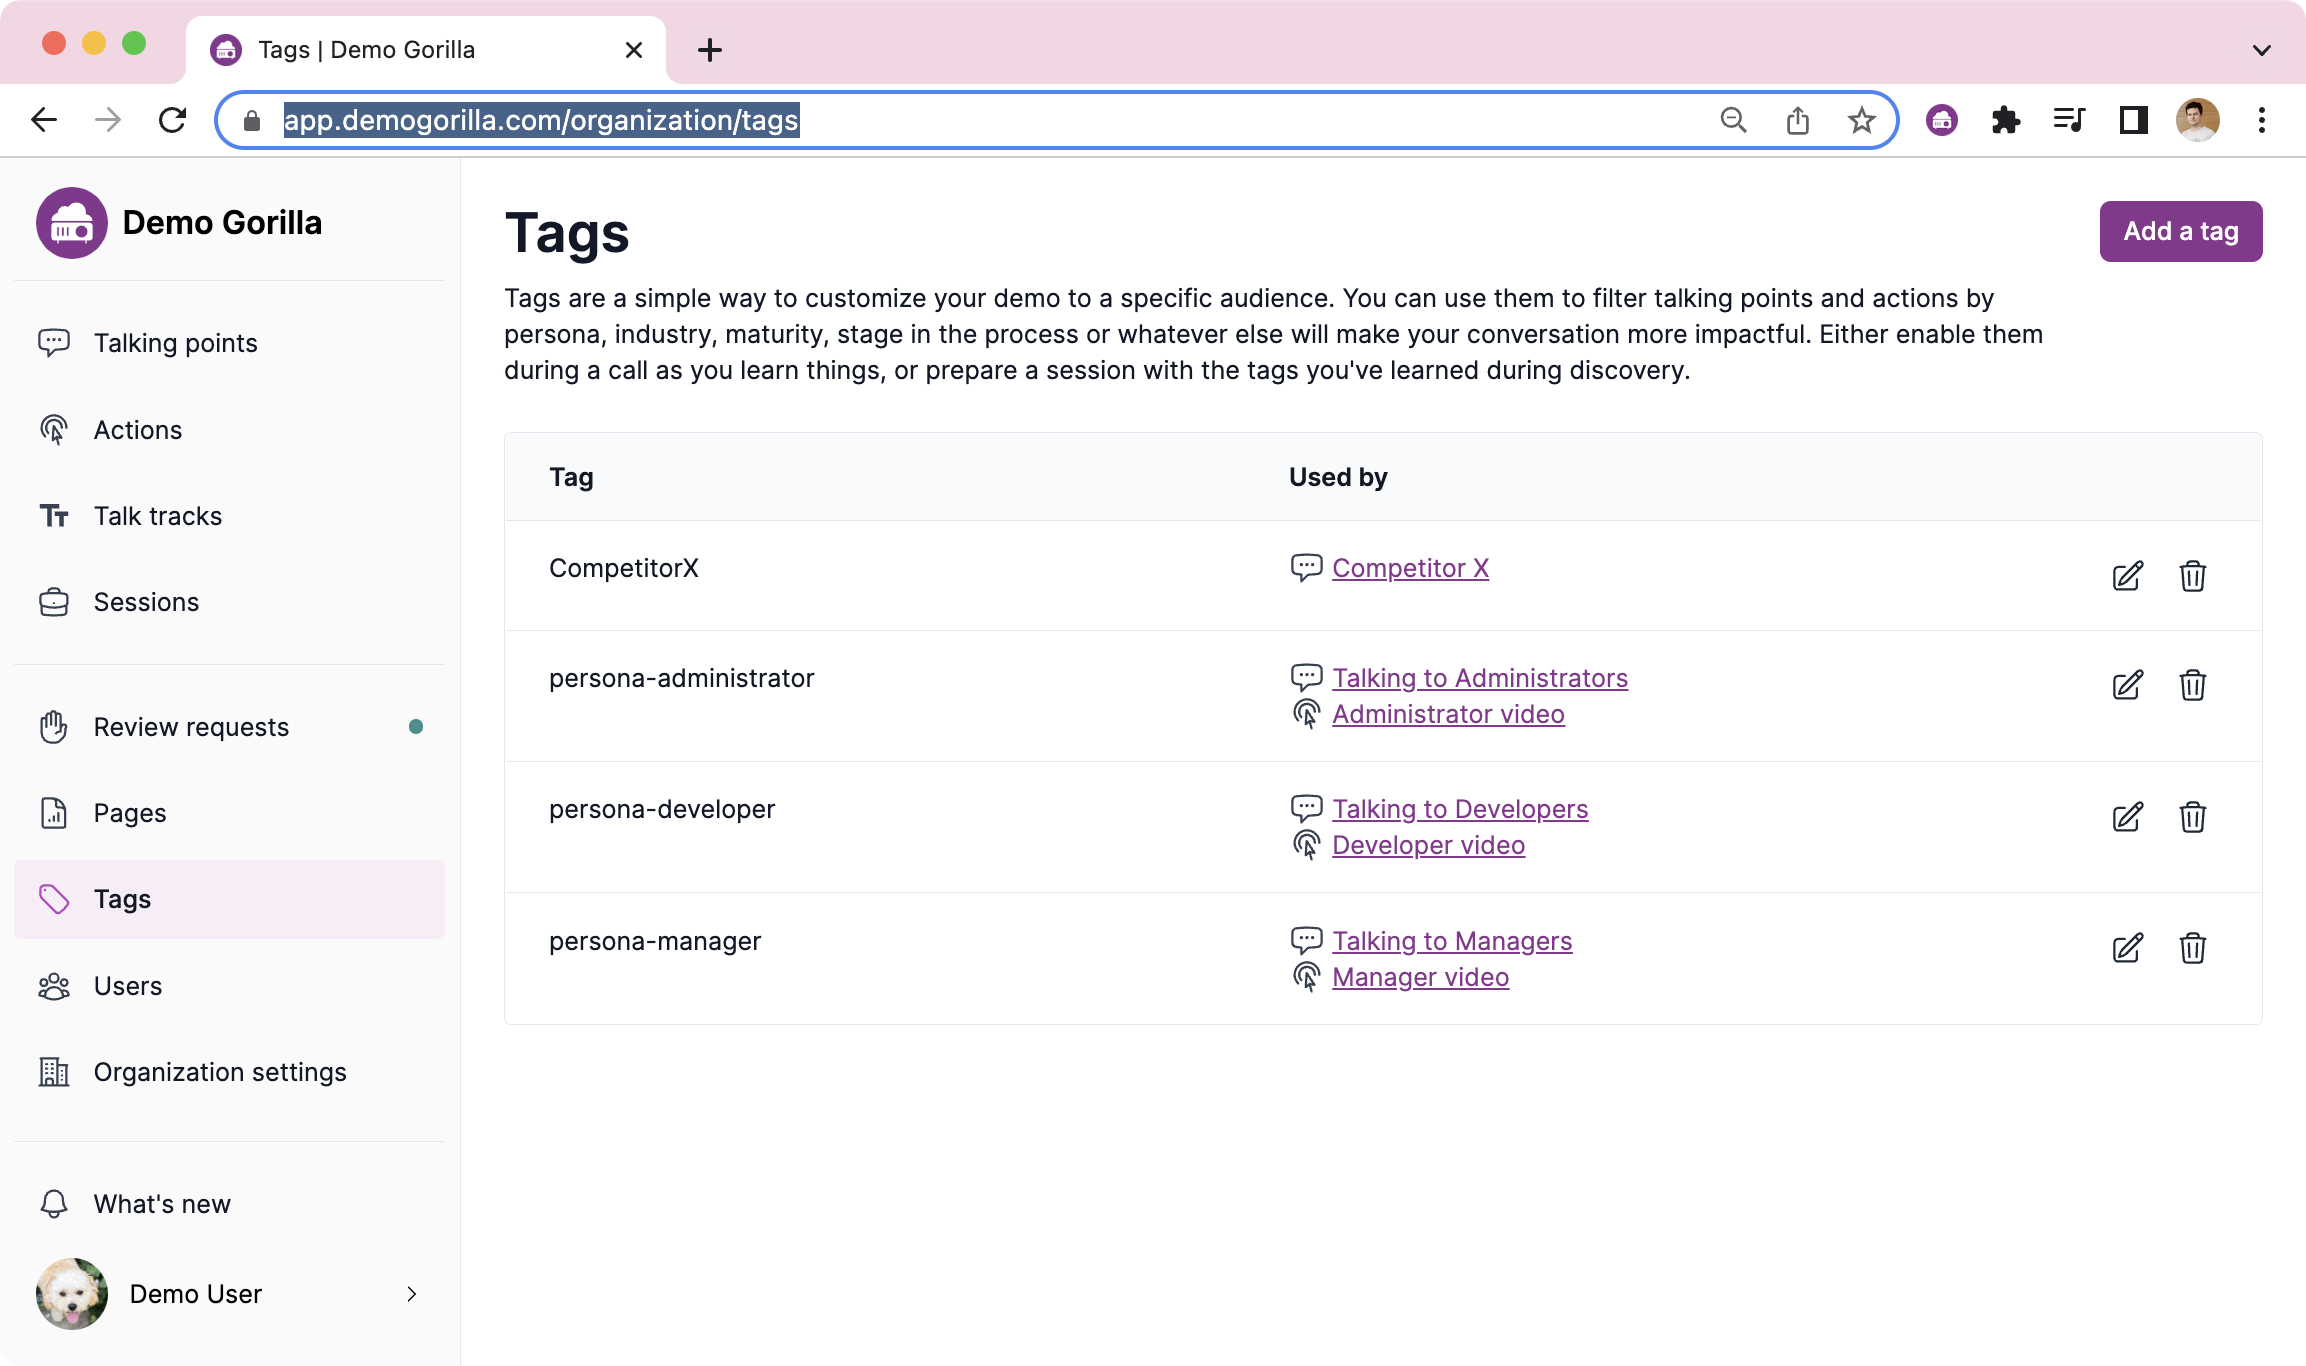
There are 2 ways to create tags:
- Simple tags like CompetitorX will create a button in the Presenter Notes that you can turn on or off
- Tags with a hyphen in them will create a dropdown so persona-administrator, persona-developer, and persona-manager will make a persona dropdown with those as options
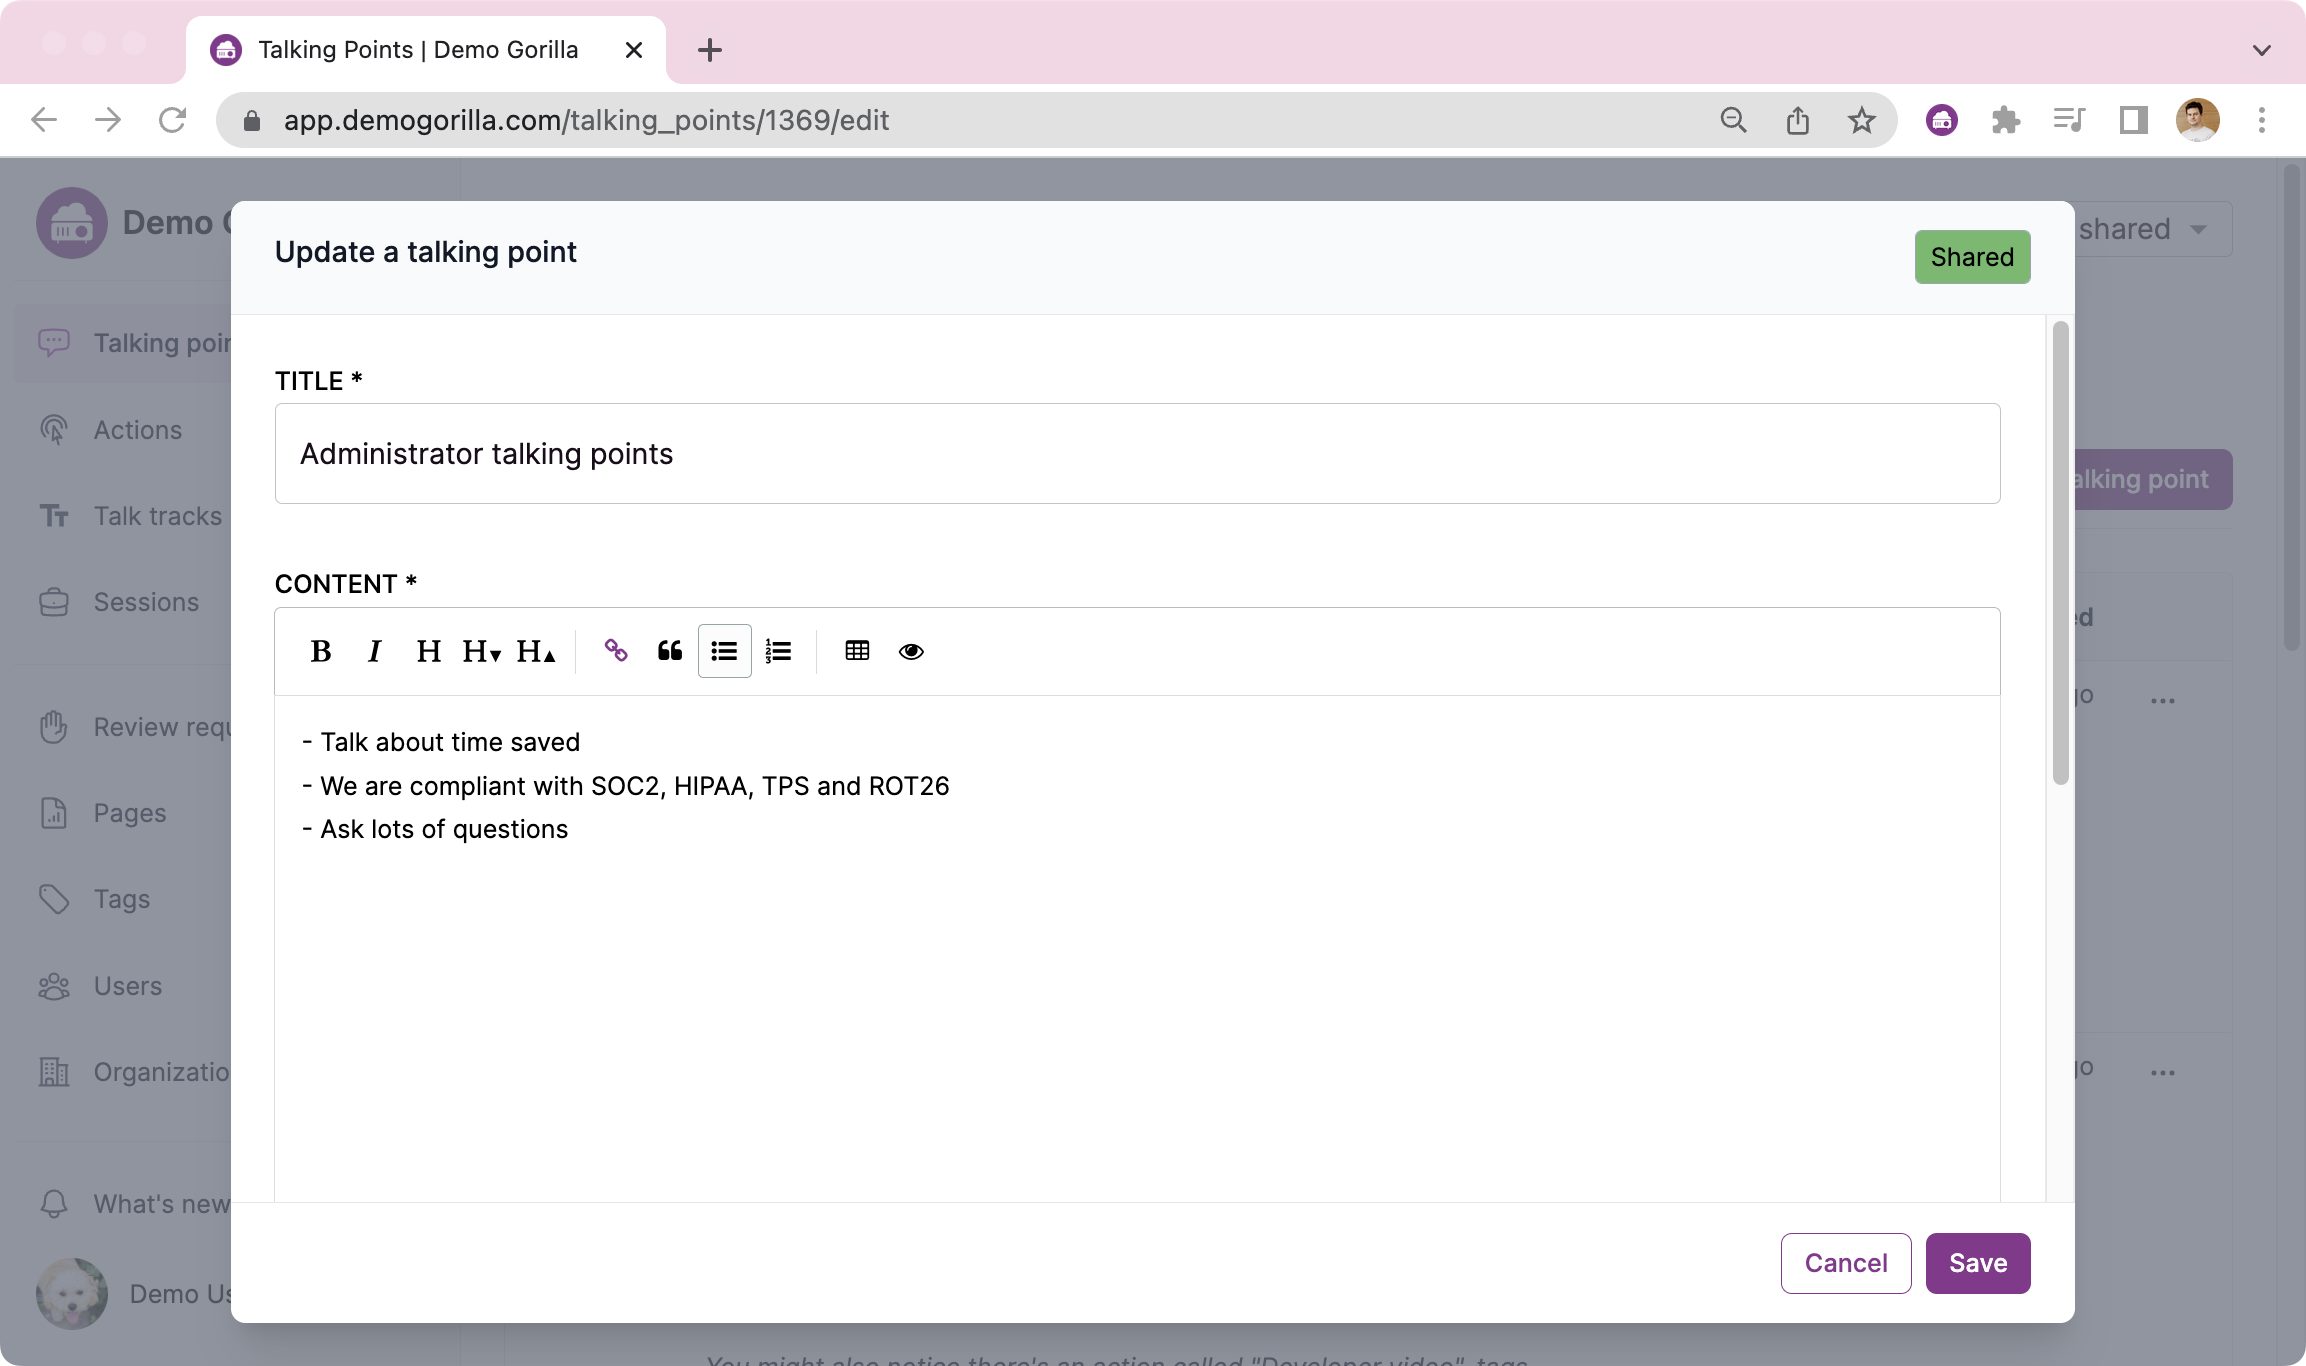
By now you’re comfortable creating content, so let’s edit the existing content. There is one talking point and one action for each persona tag, let’s tweak the talking points. Click “Talking to Administrators” and change the content.
- Title: Administrator talking points
- Content:
- Talk about time saved
- We are compliant with SOC2, HIPAA, TPS and ROT26
- Ask lots of questions
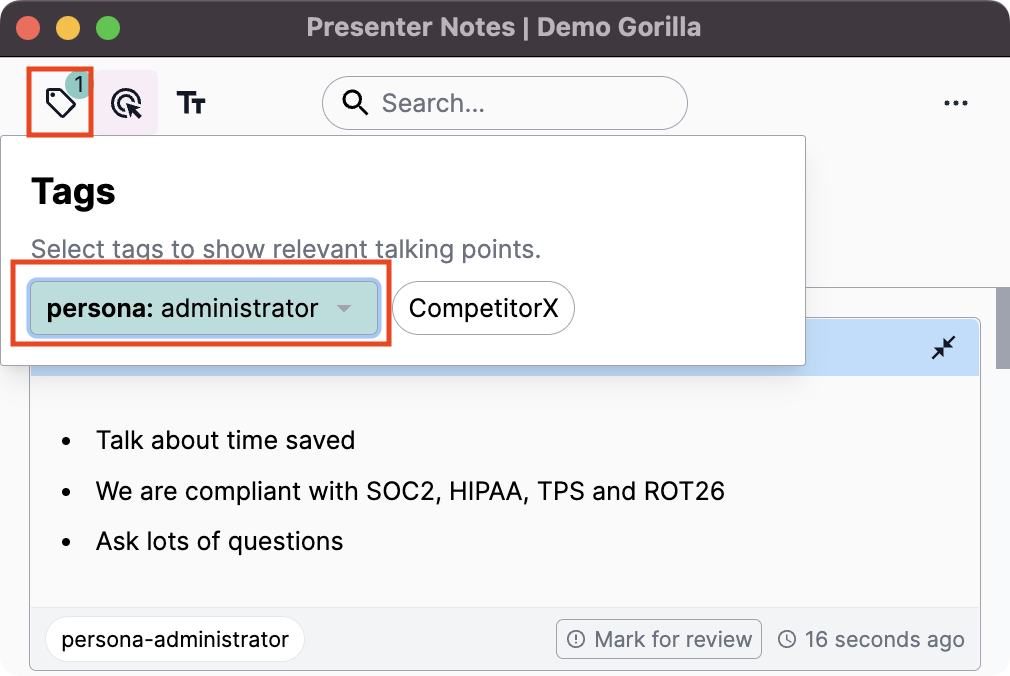
Either press the Demo Gorilla button in your browser, or refresh the extension (while on the site you authorized) and you’ll see new content when you select the “administrator” tag:
Step 4. Be ready to answer questions
Sometimes a customer asks a question. Instead of getting stumped, Demo Gorilla lets you search all the talking points. There are so many things you could say in a demo, but you can’t say them all. So content that is only for answering questions is called “Searchable content”
Good news: This is the easiest part yet.
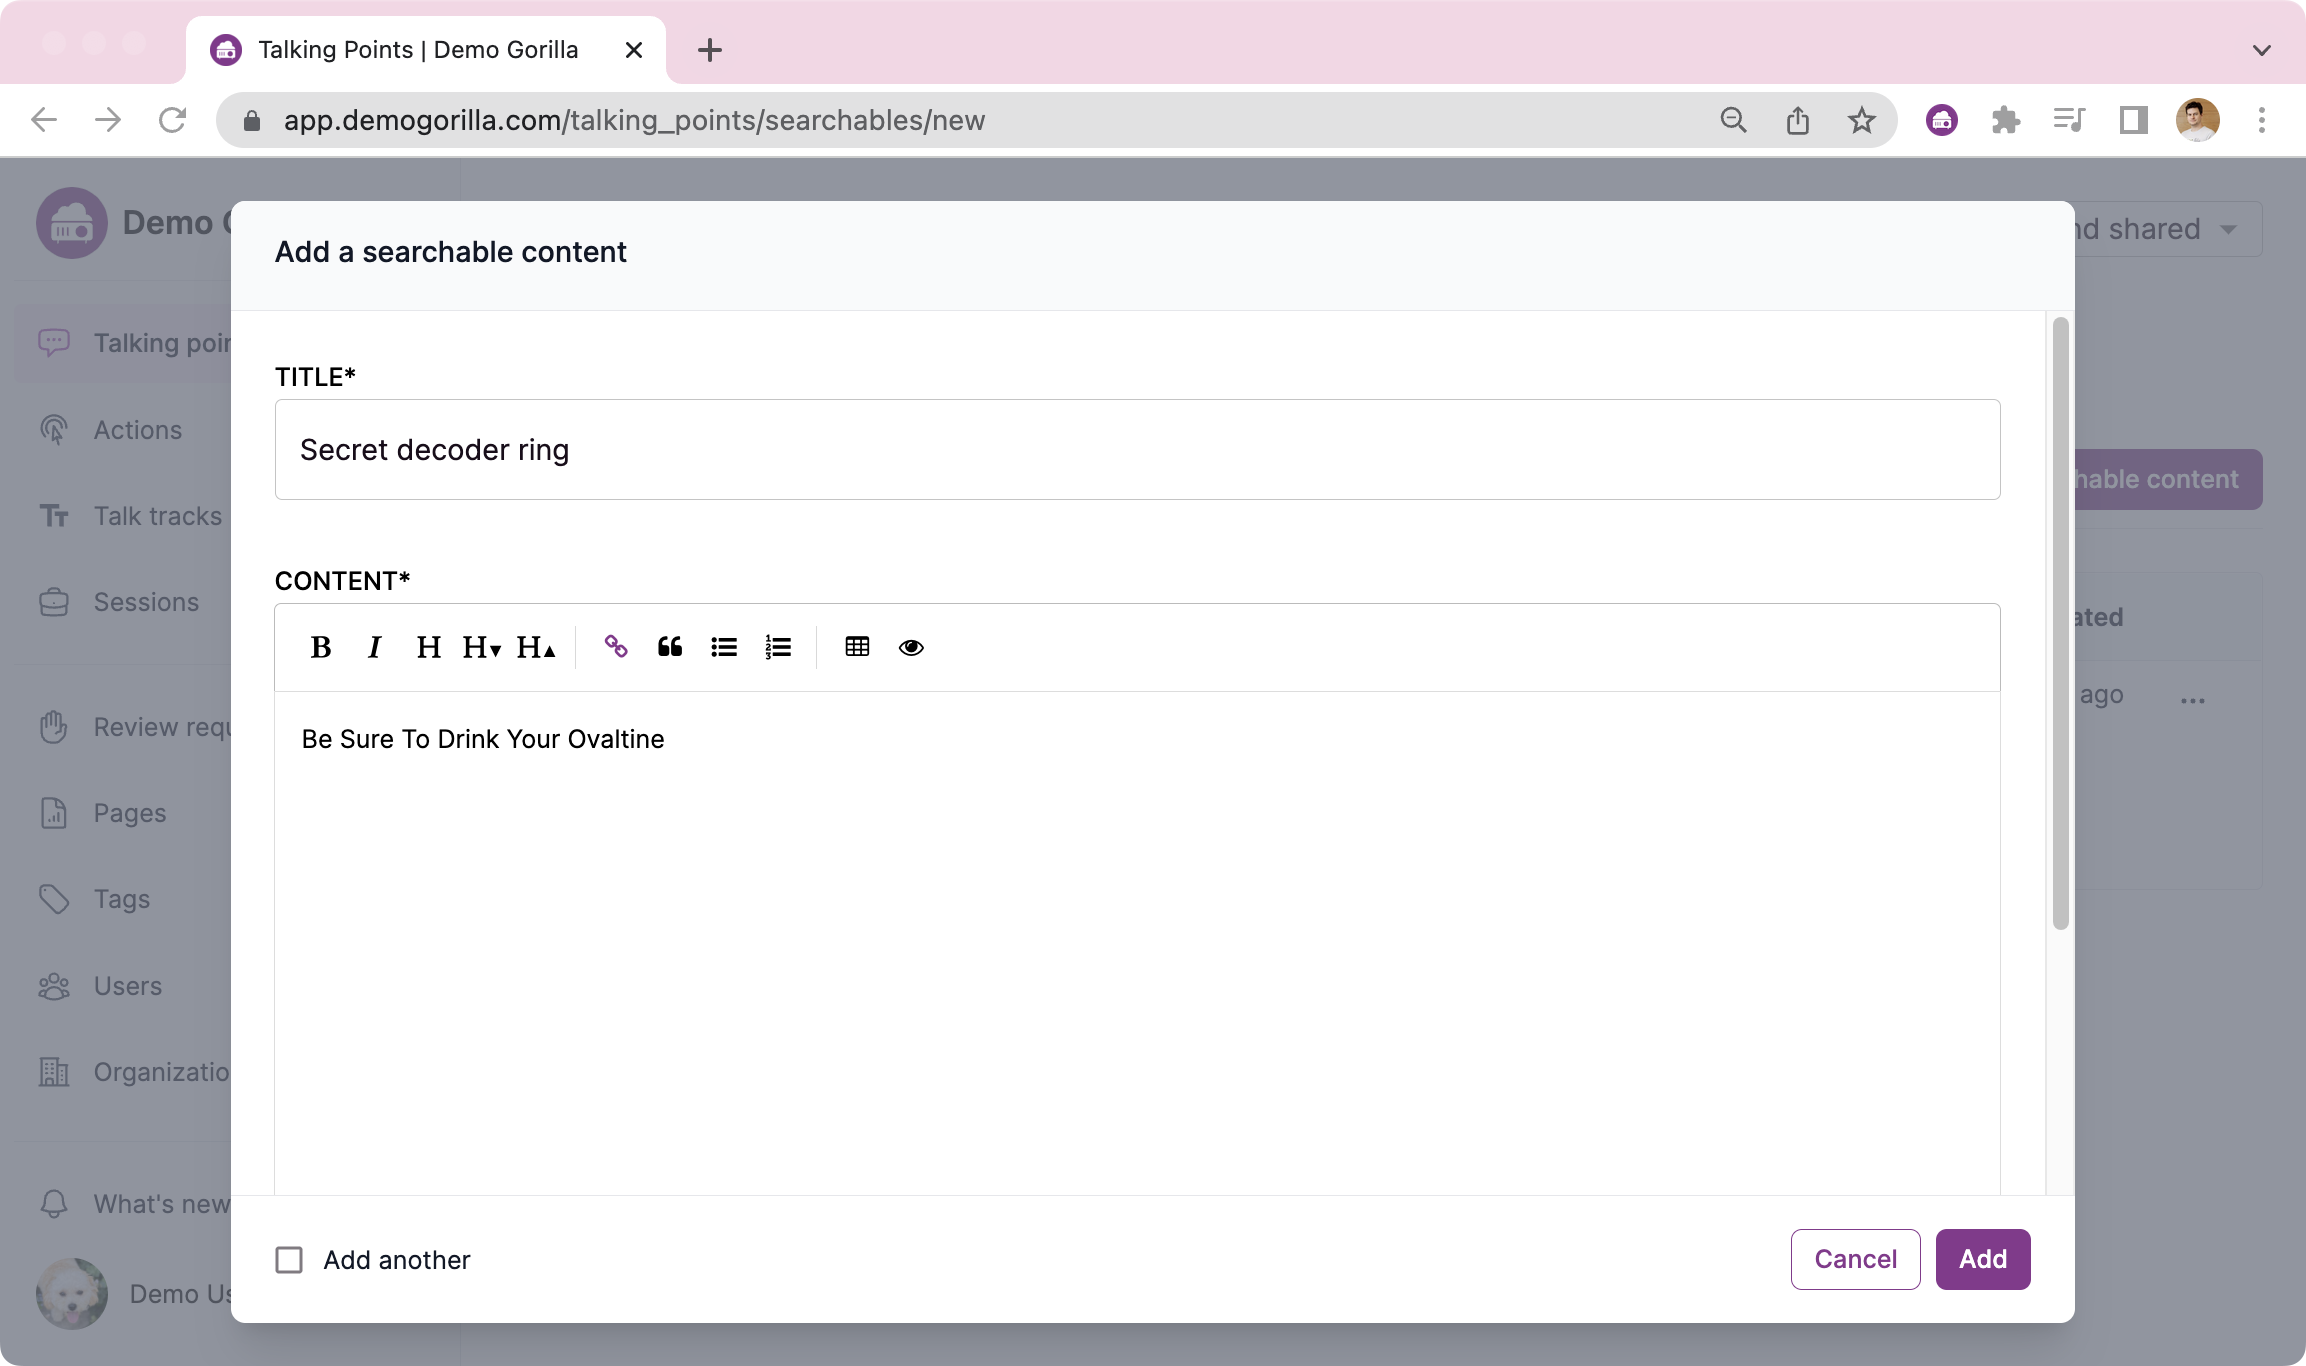
Go to the Searchable content tab on the Talking Points page and press “Add searchable content”. You’ll notice you don’t have to define “When it’s shown” since this talking point is only shown if you search for it. Create your own searchable content:
Either press the Demo Gorilla button in your browser, or refresh the extension (while on the site you authorized) and you’ll be able to see your content when you search. (If you’ve added useful content, remember to share it)
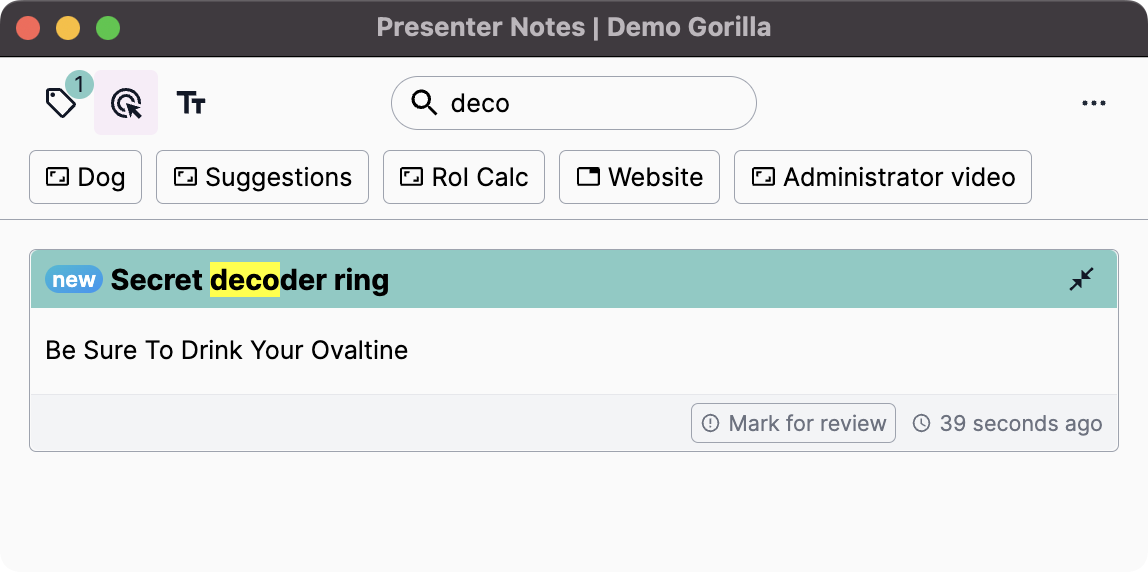
Note: All content is returned when you search, not just “Searchable content”.
What’s next?
Obviously you’ll want to create your own content! Also we’ve only scratched the surface:
- Connect Demo Gorilla to your Google Calendar and every demo will automatically know how much time you have left and keep track of your notes.
- Take a look at the data collected in each session
- Add the rest of your team